How to Make Patches with Cricut~3 Methods
Whether you wear a T-shirt, cap, or hoodie, a custom patch can make it stand out and help you make a style statement with your clothing. Patches on clothes and accessories are now more popular than ever, and you can affix them to different fabrics in several ways. You can sew them onto the cloth with a needle and thread, attach them using the iron-on transfer technique, or screen print them. Sewing the patch on fabric is a complicated process and consumes time and effort.
The most convenient and hassle-free method of attaching patches to fabric is using the Cricut cutting machine and heat press. It allows you to personalize any clothing item with a pattern, shape, or image. You can embellish your caps with your favorite sports franchise logo or make a cute animal, like a unicorn on a little girl’s shirt and make her day. In this article, we will explain how to make patches with Cricut in three different ways.
How to Make Patches with Iron-on Vinyl
Making a patch with iron-on vinyl is the easiest and quickest method. Iron-on vinyl comes in different colors and patterns. You can use multiple sheets to create an intricate, colorful design. All you have to do is cut those sheets in different shapes and patterns, arrange them however you like, and iron the patch onto the fabric. Here’s a step-by-step guide to making patches with iron-on vinyl using Cricut.
Material & Supplies
You need the following to make patches with iron-on vinyl:
- Cricut cutting machine
- Iron-on vinyl
- Cricut EasyPress or heat press
- Fabric blank
- Felt or fusible fabric
- Scissors
- Tweezers
Choose Your Design
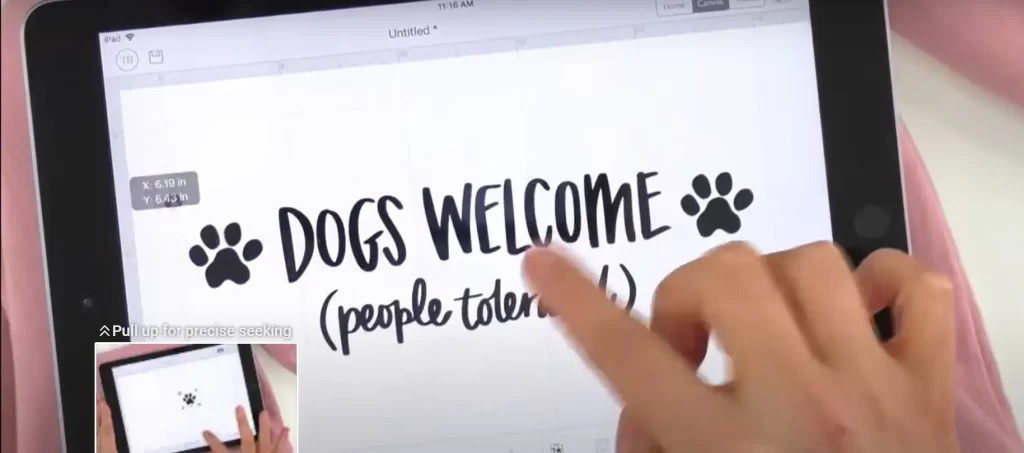
Select an image or pattern for the patch that you want to create. Upload it in Design Space and make necessary adjustments. You can download an image from the internet or use a template from the Design space library. Remember to resize the design to an 8×8 inch square to fit the Cricut mat.
Cut the Design
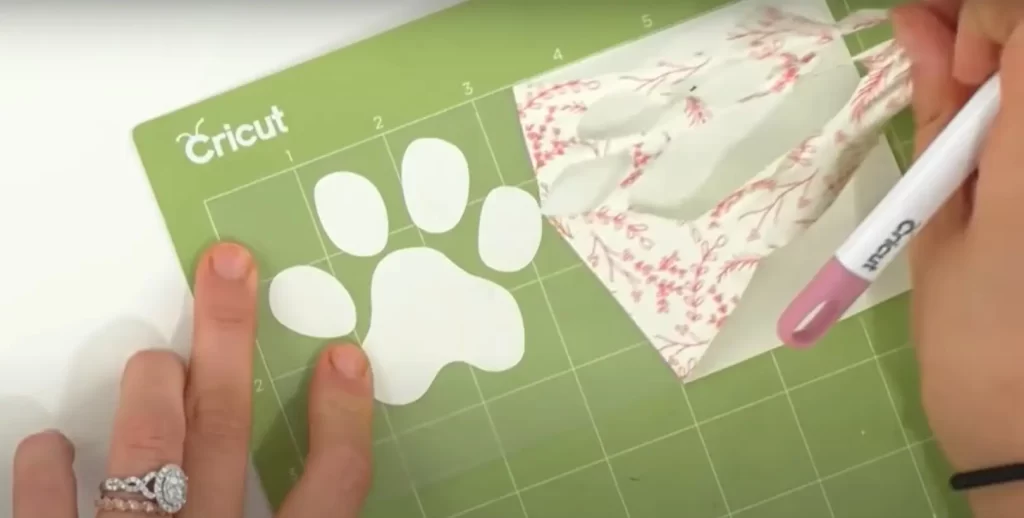
Once you are happy with the patch design, it is time to cut the iron-on vinyl. Make sure to mirror the design, and tell the machine which type of iron-on you used for the project. For example, select patterned iron-on if you have used patterned iron-on vinyl sheets. Now load vinyl into the cutting machine d cut your design. If you want to make a patch with multiple sheets of different colors, cut them all separately, selecting the accurate material each time. Weed the excess vinyl using a tweezer.
Now that you have cut your patch, it is time to attach it to the fusible fabric. Heat up your mat with the heat press, then lay a piece of felt over it. Place the vinyl sheet on the felt design side down and press it with EasyPress.
Once the design cools down, you can affix it to the fabric with any of the three methods we will explain in this article. How you design the custom patch remains the same for all the methods.
Iron-on the Design
To attach the patch to the fabric, clean the fabric blank with a lint roller and preheat it with EasyPress. Place the vinyl design over the fabric design side down and cover it with transfer paper to protect it from overheating. Now press the design with Cricut’s EasyPress for about 40 seconds. Make sure to apply pressure firmly and move the heat press over the design in circular motion. Wait for a few minutes before removing the transfer paper and vinyl backing.
How to Make Patches with Cricut Infusible Ink?
With infusible ink, you can transfer your designs directly onto the fabric. It is like design printing, as the patch would not sit over the cloth. This method has a few limitations; the patches wouldn’t be as intricate as embroidered or vinyl patches. But, the image or logo you need on the cloth will be permanent, and the process will be much quicker. Continue reading to learn how to use infusible ink to make patches with Cricut.
Materials & Supplies
- Cricut cutting machine
- Cricut EasyPress or a heat press
- Cricut infusible inks
- Fabric blank in light color with high polyester content
- Scissors
- Weeding tools
- Lint roller
The Process
- Upload your patch design on Design Space canvas.
- Resize the image according to the size of the design you need on the fabric.
- Use the slice option on the top right corner of the screen to separate different colors in the design.
- Mirror your design and select infusible ink for the material.
- Apply the infusible ink sheet onto the cutting mat and cut the design with your cutting machine. If you are creating a patch in different colors, cut the infusible ink sheets separately for each color.
- Remove the sheets from the cutting mat and trim your design around the edges using scissors.
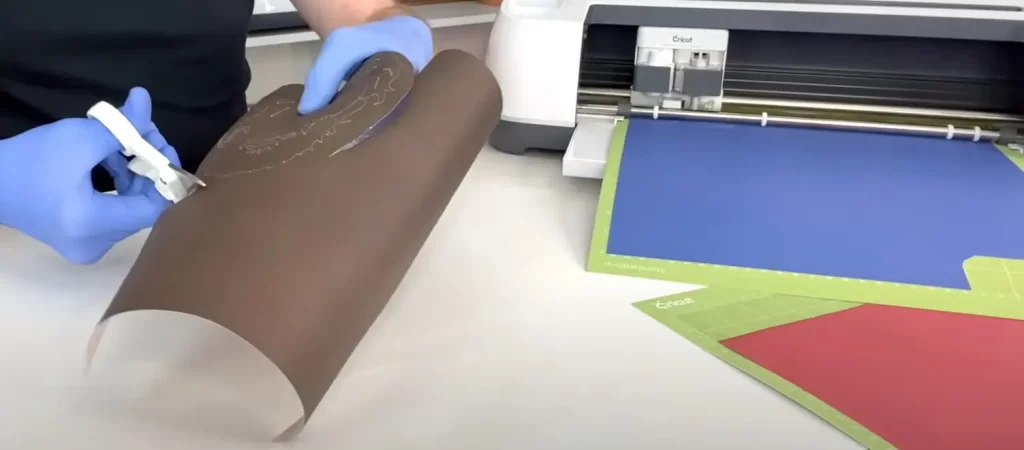
- Roll the infusible ink sheet after trimming the design to crack different parts to weed them out with ease.
- Now you have different parts of your design cut in different colors. Layer them all together according to the pattern on the transfer tape.
- Attach the design on your patch blank using the transfer tape.
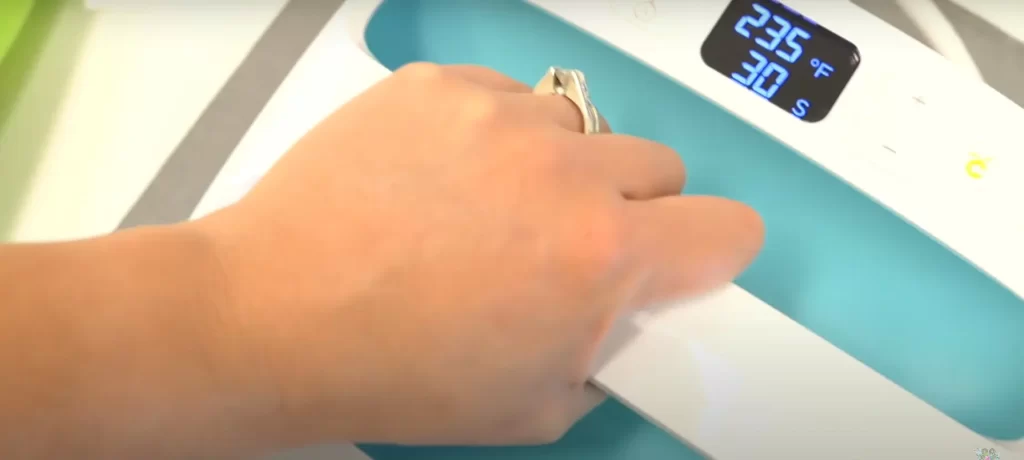
- Preheat the EasyPress at 385F for about 15 seconds, then lay your shirt on the Cricut EasyPress mat.
- Clean the fabric with a lint roller and place a cardstock sheet inside to ensure the design doesn’t bleed through.
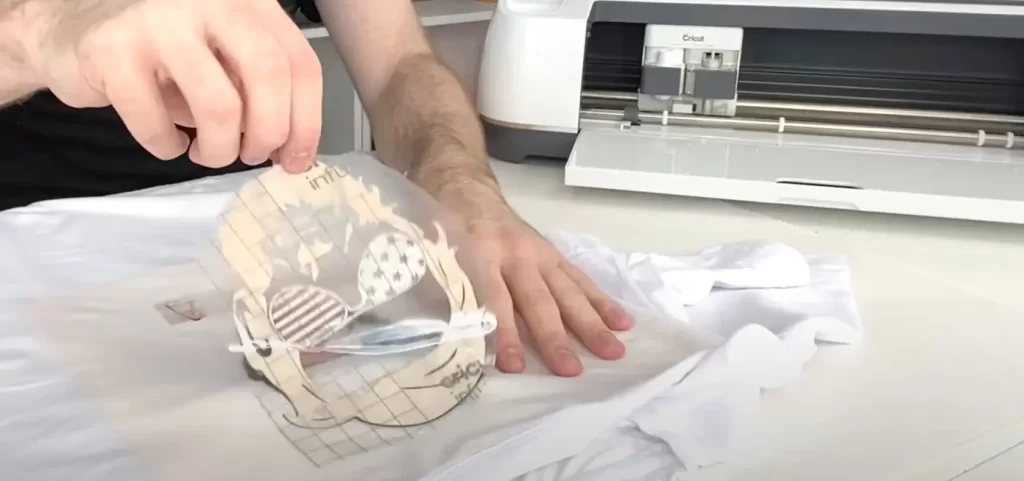
- Place the infusible ink sheets onto the fabric design side down and cover them with butcher paper. Transfer the design onto the cloth using EasyPress and apply light pressure.
- Wait for a few seconds before lifting the transfer tape on the back of the design. Make sure it’s still warm not cold, when you remove it.
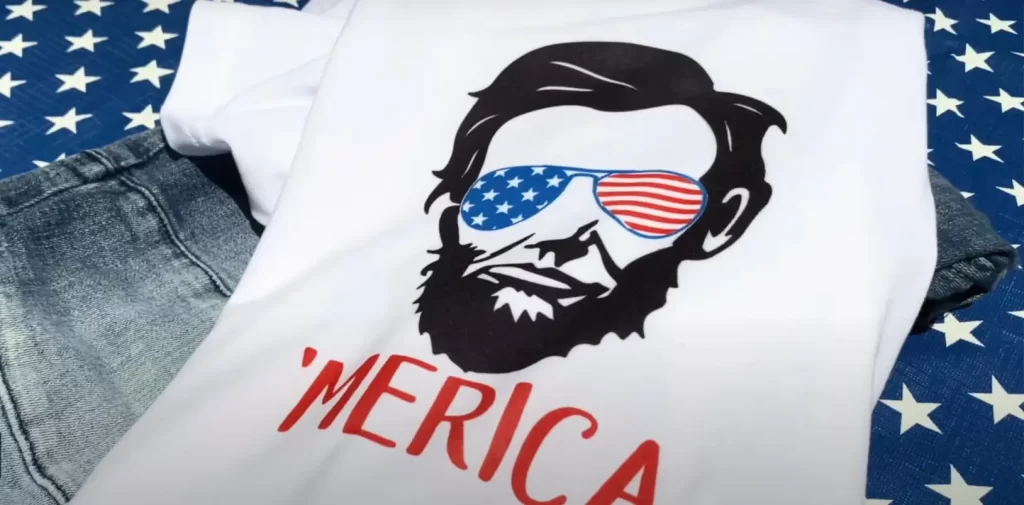
The patch you make with infusible ink will be long lasting as the ink infuses into the fabric.
Watch this to learn about how to use Cricut infusible ink.
How to Screen Print Custom Patches with Cricut?
The third method of making patches with Cricut is by screen printing them.
Materials & Supplies
- A screen printing frame
- Cricut cutting machine
- Cricut EasyPress or heat press
- Screen printing ink
- Dust canvas fabric for making patches
- Squeegee
- Weeding tools
- A piece of cardboard
- Transfer tape
- Scissors
- Fabric blank
- Vinyl
The Process
- Like all other methods, you need to come up with a design for your custom patch. Cut the image or text with a Cricut cutting machine, then weed out the excess vinyl.
- Attach transfer tape to the vinyl design and smooth it out with a scrapper.
- Now, flip it over and remove the backing. Attach the design to the screen printing frame, then remove the transfer sheet.
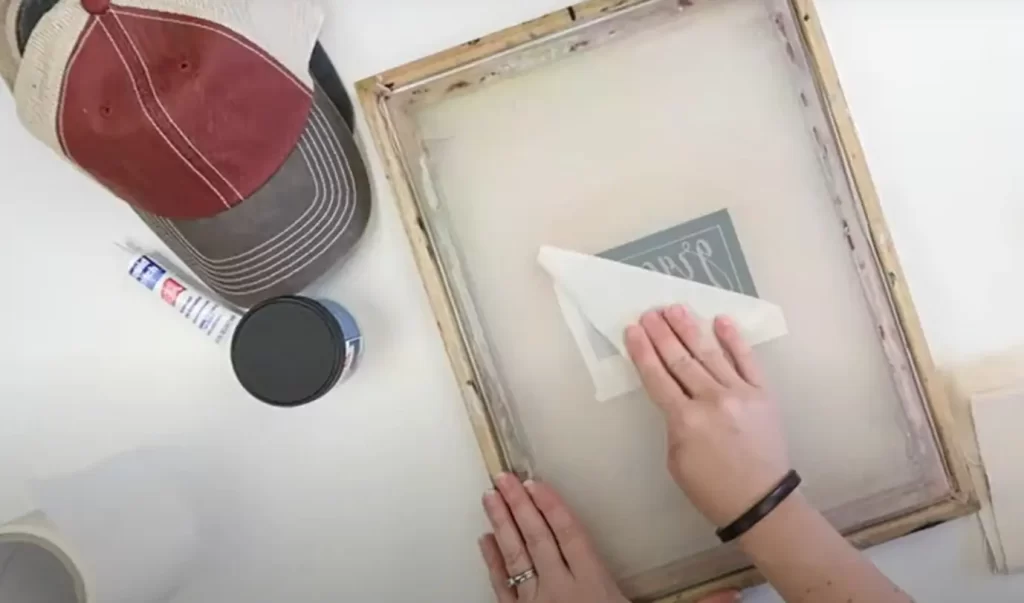
- Once the screen is ready, cover the corners with painters tape.
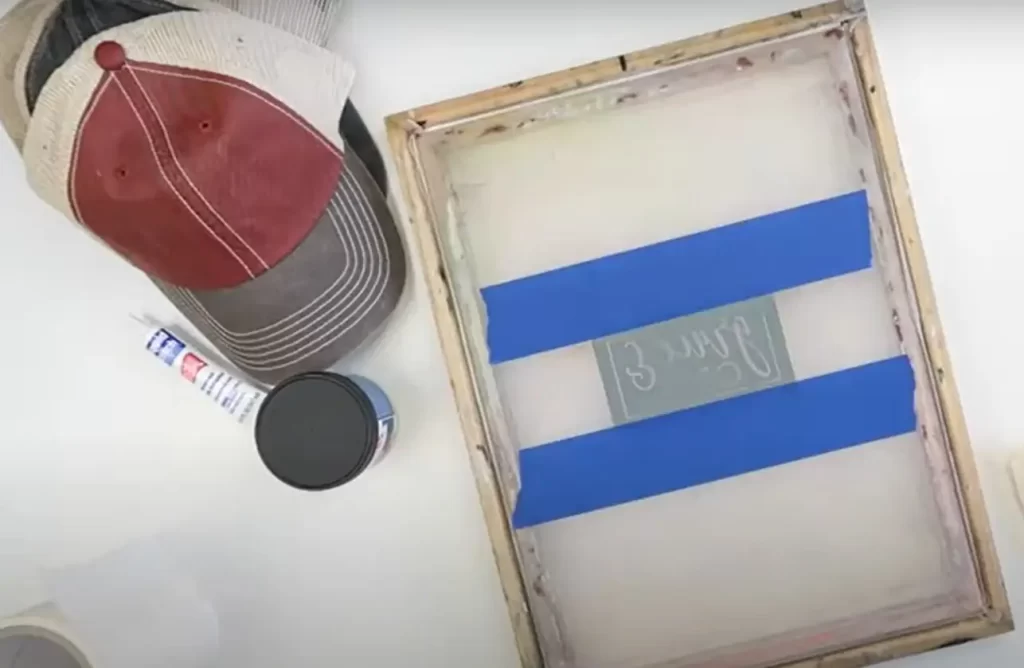
- Place your prepared screen over the dust canvas fabric where you want the design.
- Apply screen printing ink to the design and squeegee it all over it to make it go onto the fabric underneath. Make as many patches as you like.
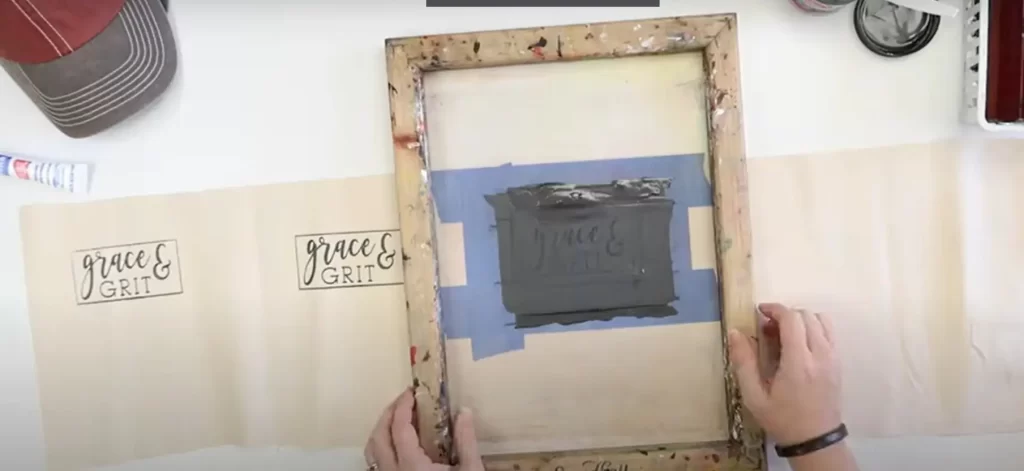
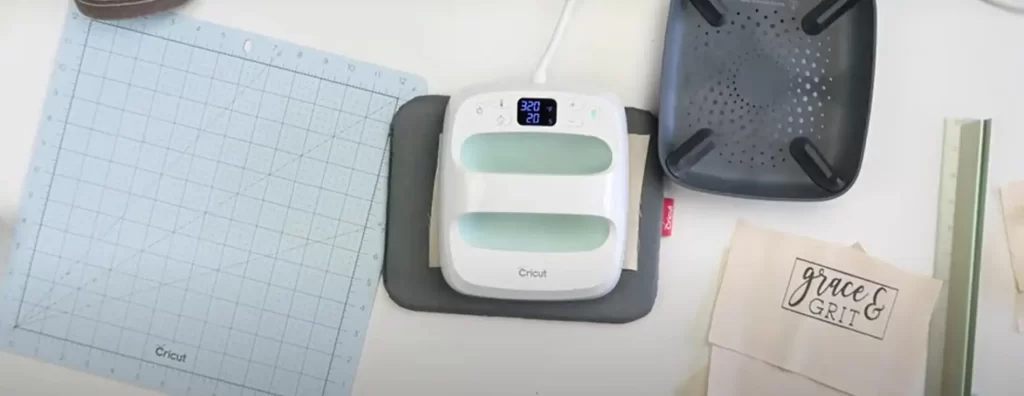
- Heat set the fabric ink with your EasyPress at 320 degrees for 40 seconds. Make sure it is dry before applying heat to it.
- Trim the patches around the edges with scissors after heat-setting the ink.
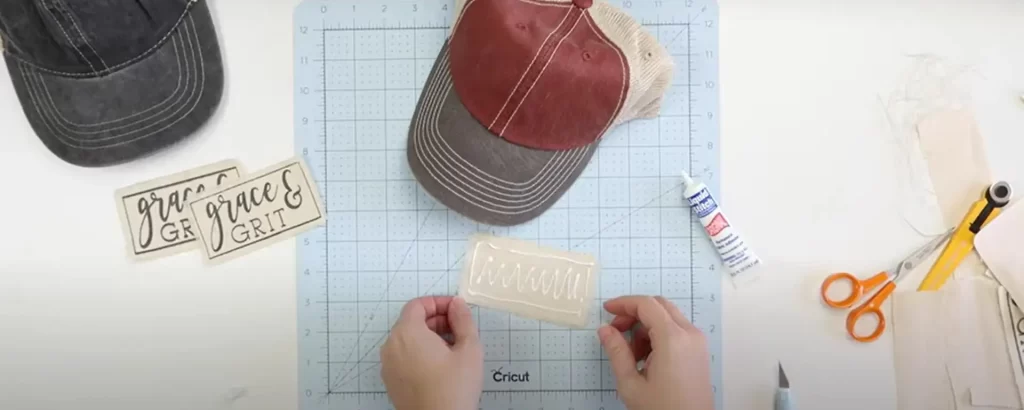
- Your patches are now ready! You can apply them to the fabric in several ways. One of the best ways to affix the patch onto the cloth is using liquid stitch fabric adhesive. Apply the glue evenly at the back of the patch, then press it firmly onto the fabric blank where you want it.
Final Words
Patches on clothes and accessories can never go out of style! You can decorate your homes with personalized patches or use them as a well-thought-out gift for your friends and family. Also, embellishing and selling bags, jackets, hats, hoodies, etc., with custom designs can make for a profitable home-based business. Cricut allows you to be as creative as you need and make custom patches that suit your style.
You can use photos taken on your phone or download pre-designed images from the internet. You can create patches from a variety of different materials. Whether you use fabric or vinyl, trim it neatly and weed out the excess to ensure they look crisp and professional. Try any of these three methods of making patches with Cricut, and we’re sure you will be happy with the results.

I am Zamal Fatima, a skilled and experienced writer having a passion for technology, gadgets, printers, crafting, and DIY. As a technology expert, I have a deep understanding of the latest advancements in gadgets and devices and am able to produce insightful and informative articles that provide valuable insights into the world of technology. Always striving to improve my skills and knowledge.