Sublimation Printing On Wood: Easy Guide With Pics

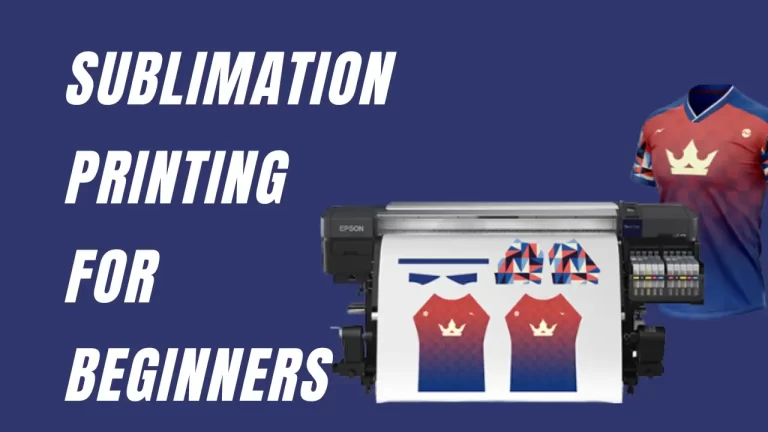
If you are into sublimation printing, you must love transferring designs on different surfaces and poly-coated substrates. The vibrant colors and attractive designs make us wonder if we can achieve the same effect on other unconventional materials. Do you want to learn how to sublimate on wood?
Sublimation printing on wood is tricky and detail-oriented, but with a few workarounds, you can print colorful, eye-catching designs on wood. We will explain the most effective methods of sublimation printing on wood and show their results so you can pick the best technique that works for you.
Prerequisites How To Sublimate on Wood
Step 1: Create your Design
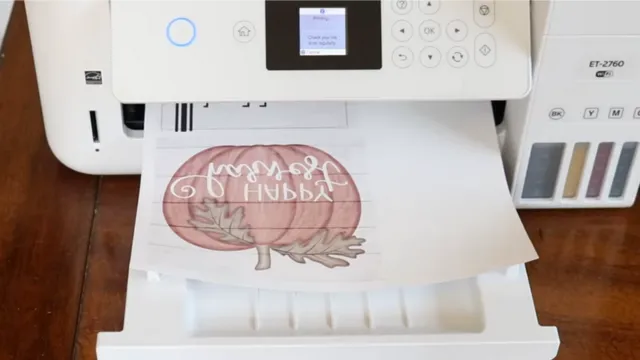
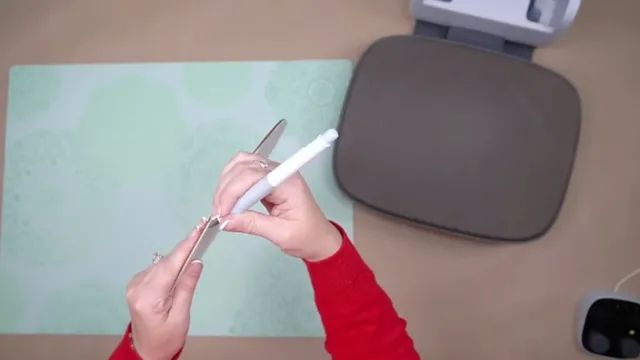
Create a design for your sublimation project. Resize the image according to the size of your wooden blank. You can use Cricut Design Space or Silhouette Design Studio to create your design. Print it on sublimation paper using a sublimation printer.
Step 2: Cure Your Wood Blank
The next step is to prepare the wood blank for sublimation. Use sandpaper or a sander to smoothen and polish the surface. It gives the wood blank a smooth finish and allows even heat distribution making it easier to sublimate a design onto it. After that, clean the sawdust with a damp paper towel.
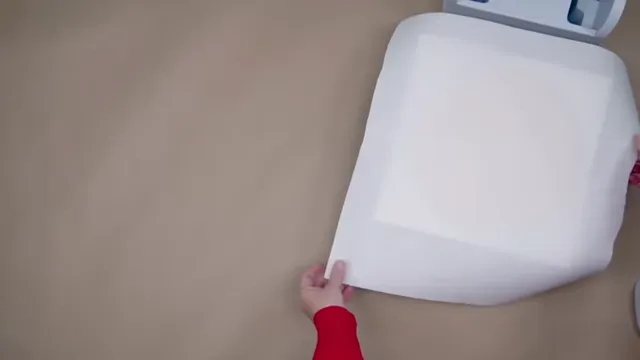
We need to preheat the wood blank to remove the moisture from the wood. The dampness in the wood will make the colors of the design fade or smudge. Set your heat press to 380 degrees and preheat the wood for fifty seconds. Remember to put a piece of cardstock on the pressing area and cover the wood black with butcher paper before pressing it. Don’t be alarmed if you see smoke coming out of your heat press. It’s just steam; your heat press is perfectly safe!
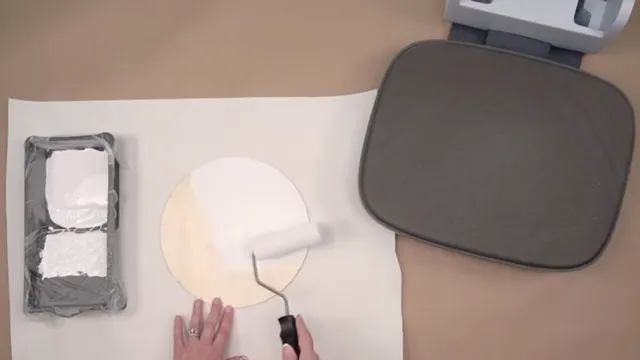
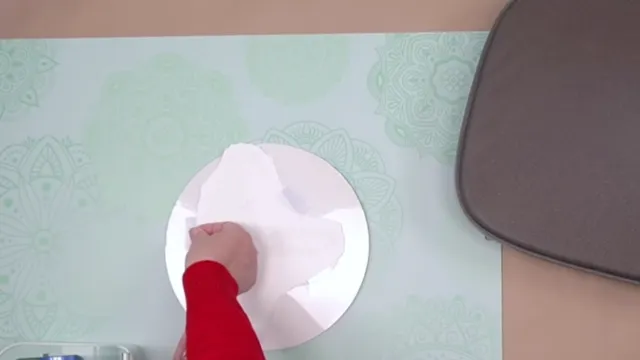
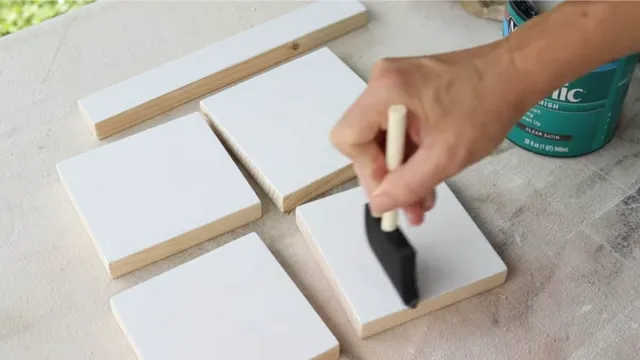
You can sublimate your design on plain wood or paint it white. Painting your blank white will make the image look brighter and the colors of the design pop. It also prevents the wood blank from warping while heat-pressing the design onto it. Cover the surface on which you are going to paint with butcher paper. Fill a paint pan or tray with white latex paint and dip the foam roller. Then, evenly apply the color over the surface for a smooth coat. Let the paint dry completely before proceeding further. You can also dry it with your heat press but remember to cover it with a piece of butcher paper. Keep the temperature at 300 degrees.
Different Methods of Sublimation Printing on Wood
Technically, you can only sublimate on materials with a poly-coating. However, you can cure your wood blank with a number of different coatings to make it sublimation-ready. Let’s see how you can do it!
Thermal Laminating Film Coating
You can use laminate pouches to coat the wood blank. If your laminate sheets are large, cut them so they can fit your wood blank. The wood blank can be of any size or shape, depending on what you are trying to create.
Cover the heat press plate with a piece of white cardstock. Place the wood blank on top of it face up. Even out the surface with a lint roller to remove debris. A laminate pouch has a shiny side and a dull side. Place the laminate sheet on the blank matte side down. Make sure the laminate sheet is not bigger than the cardstock.
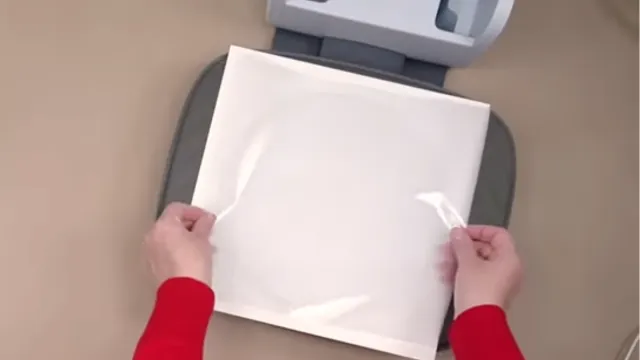
Lay a sheet of butcher paper over everything and heat press for fifteen seconds at 375 degrees. Remove the butcher paper and wood blank from the heat press when you are done. Peel away the paper gently because some of the laminate might have stuck to the cardboard. Use a craft knife to trim away excess laminate.
Now you have your wood blank coated with a laminating film. Cut the edges of your design printed on the sublimation paper. Place the design on the wood face down and secure it with heat-resistant tape.
Put it in the heat press covered with cardstock and lay a sheet of butcher paper over it. Press at 375 degrees for ninety seconds. Let the wood cool before removing the tape and paper.
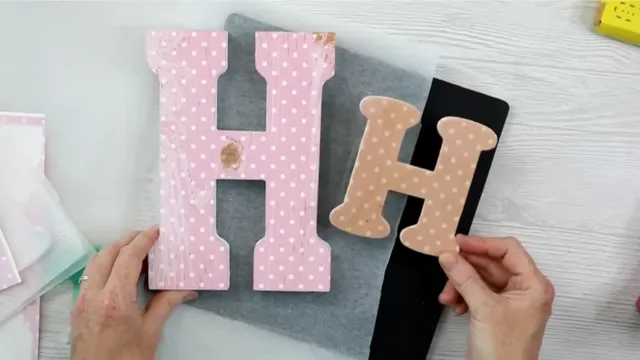
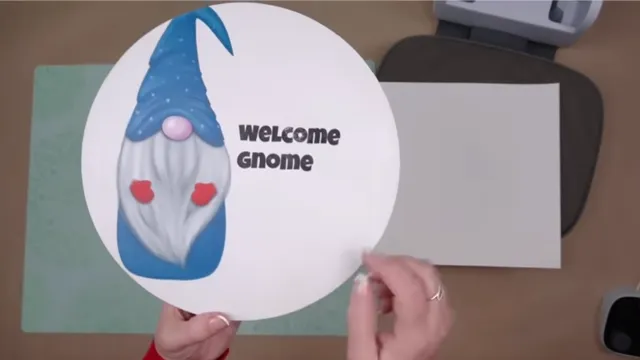
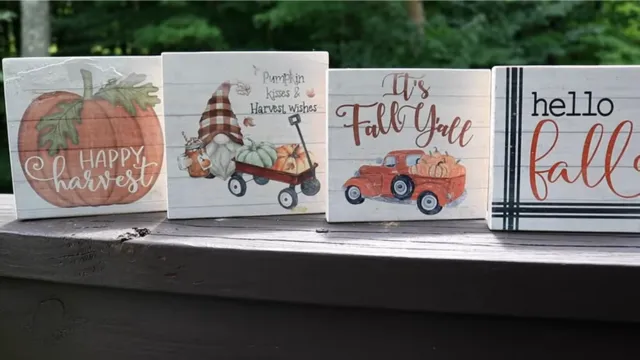
You can also coat unpainted wood with a laminating pouch and sublimate onto it. Painting the wood blank adds vividness and vibrancy to your design, but those wanting that natural, rustic feel – can opt for unpainted wood blanks. Coat it with a laminating film in the same way as explained above and transfer the design with the same technique. As you can see in the picture, painting wood before sublimation yields a distinct visual difference compared to when you don’t paint it prior.
Clear Dye Sublimate HTV
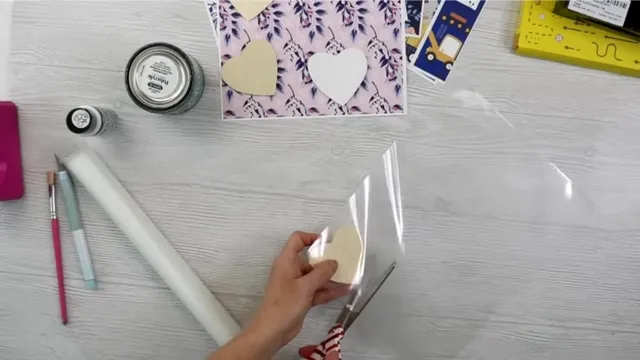
Clear dye sublimate HTV will work if you want a matte look for your sublimation print. Cut a sheet of HTV slightly larger than your wood blank. Place it on top of your painted wooden blank shiny side up and clean it with a lint roller to remove debris.
Place the wood in the heat press face up and cover it with butcher paper. Apply heat and pressure at 320 degrees for twenty seconds. Remove the butcher paper and the blank carefully and let it cool for five minutes. Trim the excess vinyl around the edges with a craft knife and peel the carrier from the vinyl. Hold the vinyl with your thumb so it does not lift, and peel the backing gently.
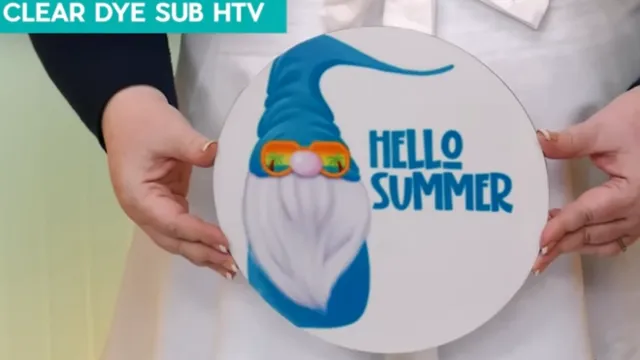
Heat press it again at 380 degrees Fahrenheit for fifty seconds. Place the sublimation print design down on the blank and secure it with heat-resistant tape. Cover with butcher paper and Press at 380 degrees Fahrenheit for fifty seconds. Let it cool before removing the butcher paper. Here’s the result of sublimation printing using clear dye sublimate HTV on painted wood.
Polycrylic Coating
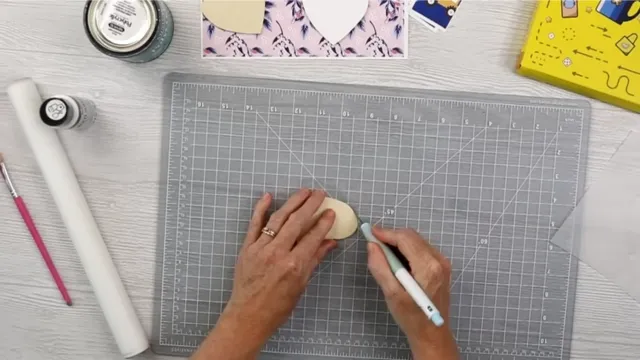
Polycrylic coating will make the sublimation print adhere to the wood. Clean the blank with a lint roller to ensure the liquid does not catch debris. Apply polycrylic evenly with a paintbrush and let it dry for at least sixty minutes. You can apply multiple coats, though one coat would be sufficient.
Lint roll or sand the wood blank to remove dust or bubbles. Cover the pressing area with white cardstock and place your polycrylic-coated wood blank over it face up. Put the sublimation print on top and secure it with heat-resistant tape.

Sublimate the design with the same technique as the methods above- heat press for ninety seconds at 375 degrees Fahrenheit. Removing the paper takes effort as polycrylic sticks to it. Rub it gently with a damp sponge to detach it from the wood.
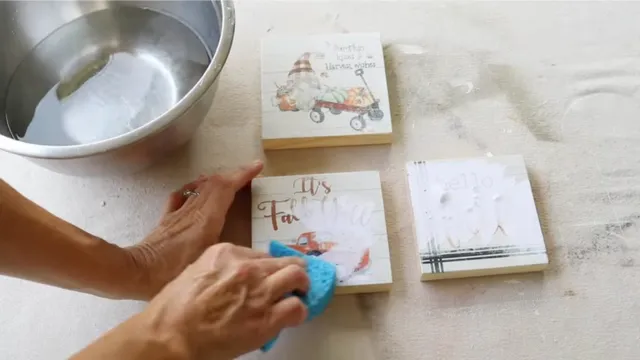
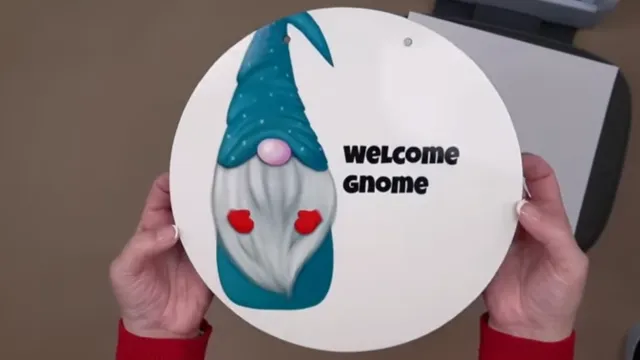
Here is the result of the sublimation process with the polycrylic coating method.
Sublimation Wood Blank
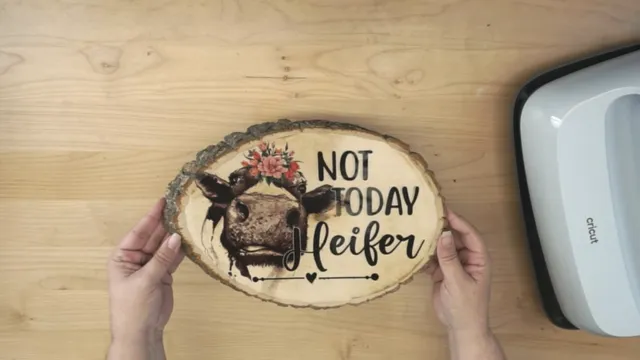
You can purchase sublimation wood blanks from the market to expedite the process. You wouldn’t need to cure the wood blank; all you have to do is preheat the blank for ten seconds at 365 degrees Fahrenheit. Remove the plastic backing from the blank before heat-pressing the design onto it. Sublimate through the same process and let the wood cool before removing the tape and paper. Have a look at the outcome.
Tips and Tricks for Sublimation on Wood
Following the tips mentioned below can increase your chances of success while sublimating designs on wood.
- Choose wood blanks with an even surface. Make sure their density is accordant with your heat press.
- Sanding the wood blank prior gives the blanks a smooth finish and ensures vivid colors and details of the design.
- Remember to cover the heat press platen with cardstock and use butcher paper to cover the wood blank and sublimation paper.
- Paint the wood blank white or other light colors for best results.
Results
There are a few other methods of sublimation on wood, such as sublimation gaze spray, etc., but they require considerable effort, and the results are unimpressive. We do not recommend them as we think they are not worth the effort. The polycrylic coating method works well, but removing the paper from the wood is time-consuming.
The clear dye sublimation HTV is perfect for a matte look and requires minimal time and effort.
The laminating pouch coating method produces vivid color and is the easiest and quickest technique.
You can make wood signs with sublimation blanks easily and quickly, and the colors will be bright and crisp.
FAQs:
Q: How to sublimate on uncoated wood?
A: You cannot sublimate on uncoated, plain wood. The print will not adhere, and the colors will be dull and faded.
Q: Can I sublimate on painted wood?
A: Yes! In fact, we recommend painting the wood blanks white or other light colors before coating them to achieve optimum results.
Q: Can I sublimate on unfinished wood?
A: While it is possible to sublimate on unfinished wood, the results will not be of good quality, and the design will fade away with time.
Conclusion
Sublimation printing is the best technique to imprint colorful images and patterns on fabric. With the correct method, and appropriate tools and supplies, you can expand your horizon and transfer designs onto several hard materials, like wood. You can print designs on photo panels, door signs, keychains, and more. The methods explained above are easy to follow and produce impressive results. Which technique works best for you depends on how much effort you want to put in and the end result you are trying to achieve. Compare the print results to check which look you like the most and pick your favorite one.
Happy crafting!

I am Zamal Fatima, a skilled and experienced writer having a passion for technology, gadgets, printers, crafting, and DIY. As a technology expert, I have a deep understanding of the latest advancements in gadgets and devices and am able to produce insightful and informative articles that provide valuable insights into the world of technology. Always striving to improve my skills and knowledge.