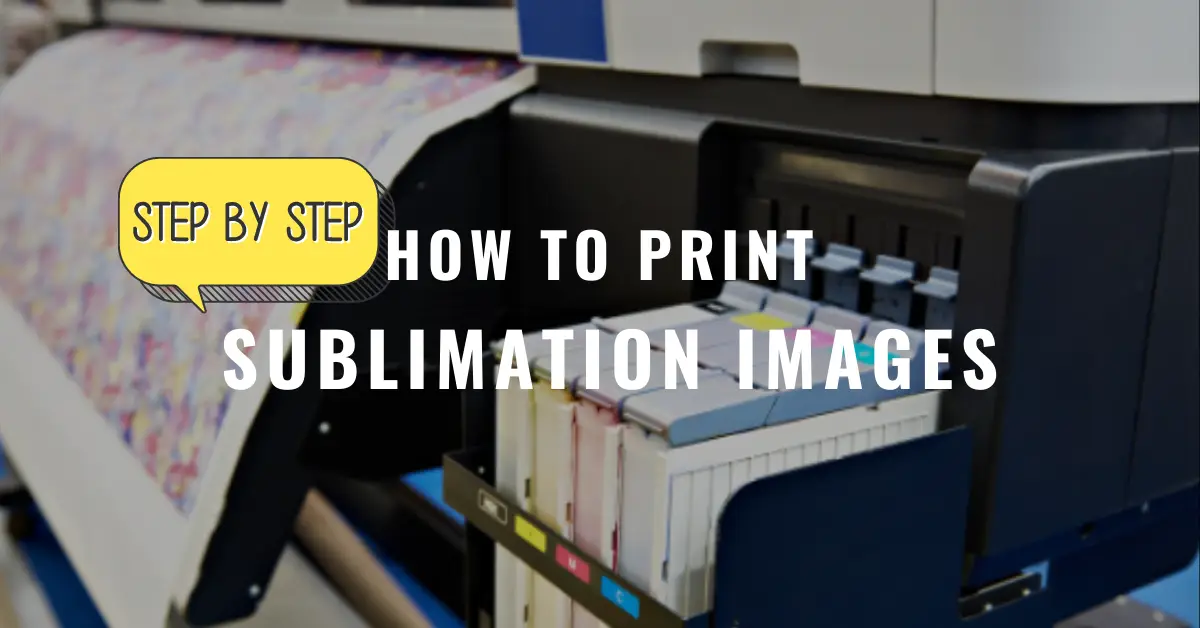
How to Print Sublimation Images? Guide for Beginners
Sublimation printing is currently the leading print technology for customization businesses. Apparel and other personalization business owners prefer it because of its ability to print on numerous items like fabric, mugs, phone cases, tumblers, and many more. Also, you can create complex designs with superior print quality and color accuracy. Overall, the sublimation printing method is smooth and easy to do. However, a beginner may struggle a little in the image printing phase of the process.
Even if you have an incredible sublimation design, you might not know how to adjust the size and colors according to the sublimation substrate. You have to use the right editing software and tools and be able to transfer the designs on different sublimation blanks. If you are new to sublimation printing and trying to wrap your head around the sublimation printing concept, the article will surely be helpful for you. We will walk you through the entire sublimation printing process and explain how to print sublimation images in various sizes using different design software. So let us get right into it!
How to Design and Print Sublimation Images
The graphic design process and editing and customization features play a significant role in the quality of your sublimation designs. You can print your images for sublimation with multiple free and paid software.
If you want more customization and editing options, you can work with graphic design software like Photoshop or Canva. Or, you can purchase a photo from Design Bundles (an incredible marketplace for excellent sublimation images and patterns), insert it on Google Docs or Microsoft Word, and print it. You can also use crafting software like Silhouette Studio or Cricut Design Space.
JPEG, PNG, PDF, and SVG are the best file formats for sublimation images.
Read different methods of sublimation image printing below!
How to Print Sublimation Images–Large Images
Printing large images for sublimation is not achievable with Cricut Design Space. It is perfect for small sublimation blanks like keychains, ornaments, jewelry, etc. But if you want larger prints for apparel, it won’t allow you to print as it has a size limitation- the maximum print size is 6.8 x 6.7. You can print a large image for your sublimation project with Microsoft Word. It is free software which is pretty intuitive. Let’s see how you can do it!
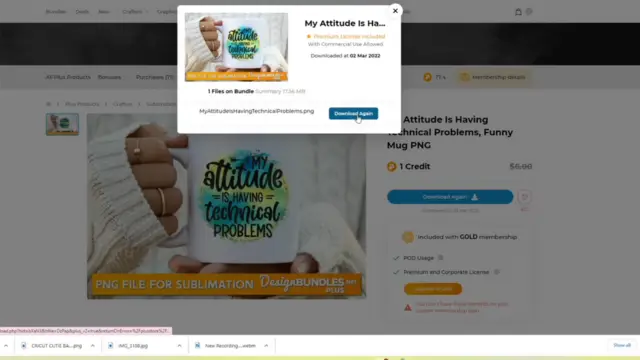
Since Microsoft Word is not an image editing software, you need to download a pre-designed image from designbundles.com. It has a library of high-resolution pictures you can download for sublimation projects at affordable prices. Scroll through the library and download the image you would like to print.
Once you have the picture you need, open a blank document on Microsoft word. Set the screen view to 75 percent to make the page look like a standard 8.5 x 11 inches sheet. Remove the margins by stretching them out as much as possible.
Insert the image into the document.
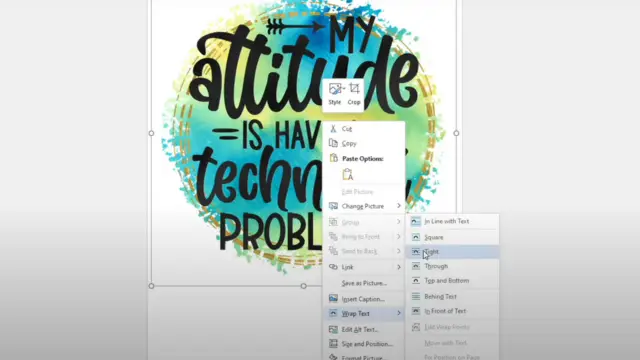
Now we need to adjust the layout of the image. Click right on the picture, go to wrap text, then select tight. It will allow you to move the image across the page. You can adjust it according to where you need the print.
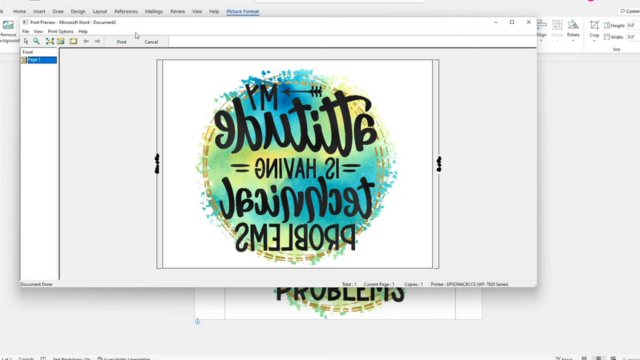
It is now time to print the image. Go to the file on the top left corner of the screen and select print. You can choose your printer from the list of printers here.
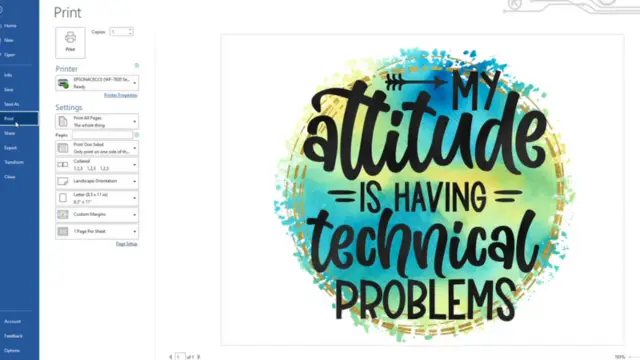
Do not forget to check the print preview from printer properties to ensure that the print looks exactly how you want it to.
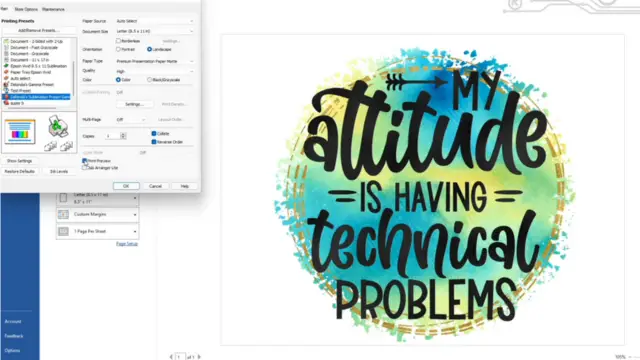
Mirror the design when printing for sublimation crafts, especially if you intend to print text.
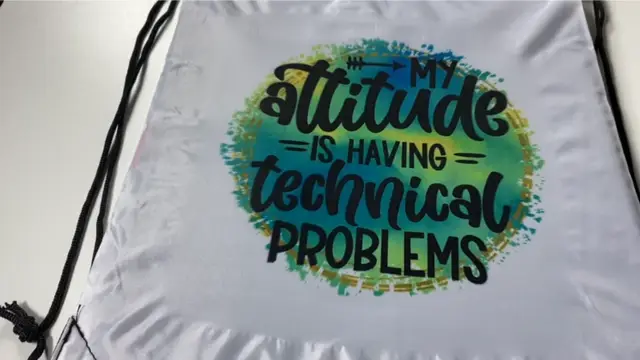
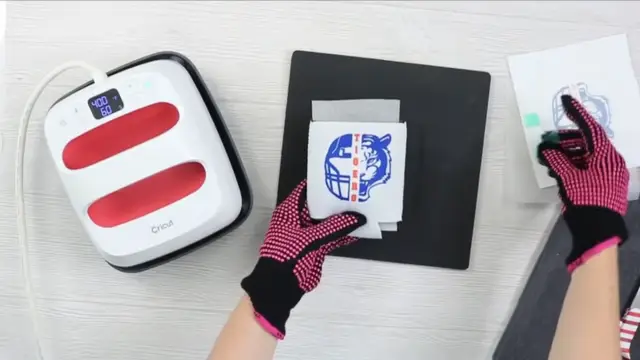
Print the image on sublimation paper, then transfer it onto your sublimation blank with the heat press.
And that is how you can print sublimation images without Cricut.
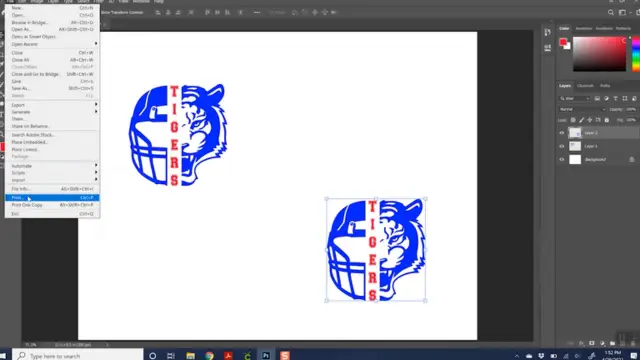
How to Print Sublimation Images with Cricut Design Space
Cricut design space is another excellent tool for printing sublimation images. It is also free to use. If you are into crafting and own a Cricut machine, you may already know how to use it. It is particularly suitable for smaller sublimation prints. We will explain how you can effectively use the software to upload and modify designs for your sublimation projects to get the best results.
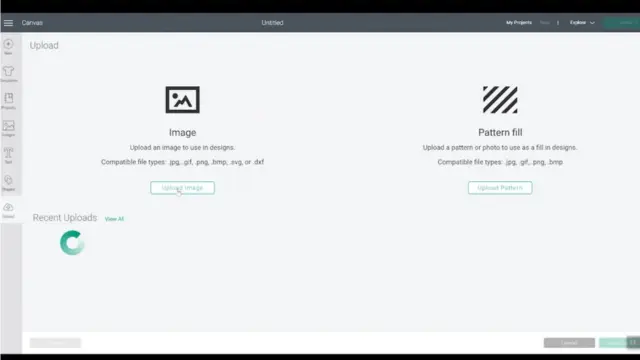
Open the Design Space Software and upload the image you want to print. You can also create your own sublimation designs with the software by using patterns and photos it provides. However, we recommend using an image downloaded from another source, as Cricut Desing Space is not robust enough for graphics designing.
Select the option complex from image types for best results.
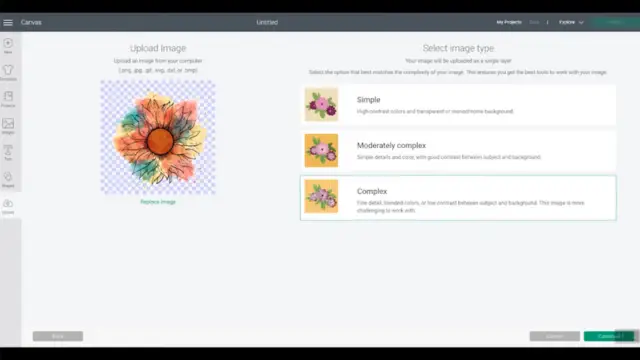
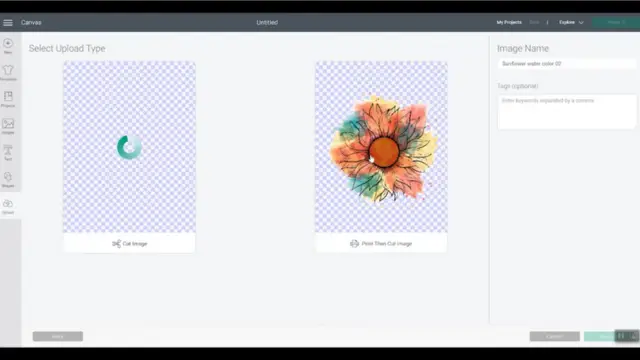
The background for sublimation images must have checked squares. If, you choose an image in PNG file format, it will automatically have the checked squares. For other image types, you can do that by clicking on remove the background. Click continue, then select the print-then-cut option on the next step. The software has a size limitation and only prints up to 6.75 inches wide and 9.25 inches tall. But with the print-then-cut option, you can print larger images for your sublimation projects.
You can adjust the size according to your sublimation blank once you have inserted the image into your Design Space canvas. Resize the photo, then select explore from the options on the top right corner. You can go up to 9.25 x 6.75 with the print-then-cut function.
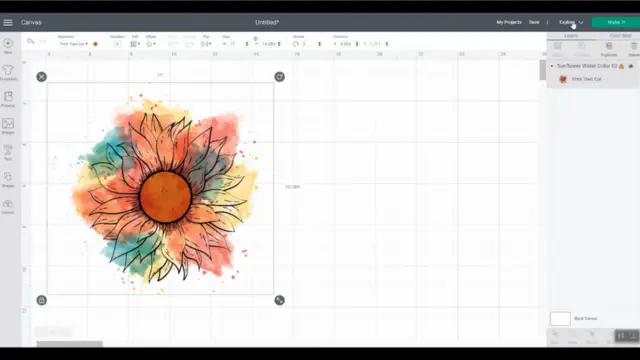
Click on Make it, then select Continue.
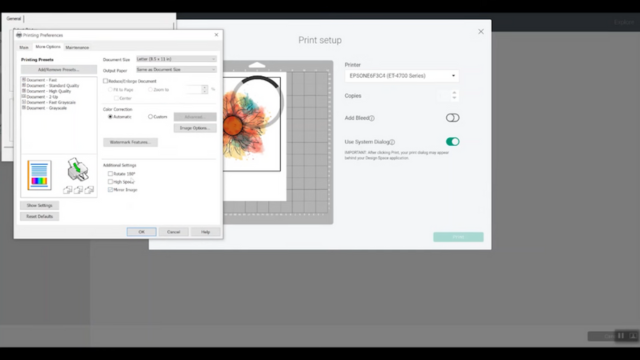
Select send to the printer. Choose your sublimation printer from the list of printers. Also, make sure to uncheck the option add bleed and check the option use system dialog.
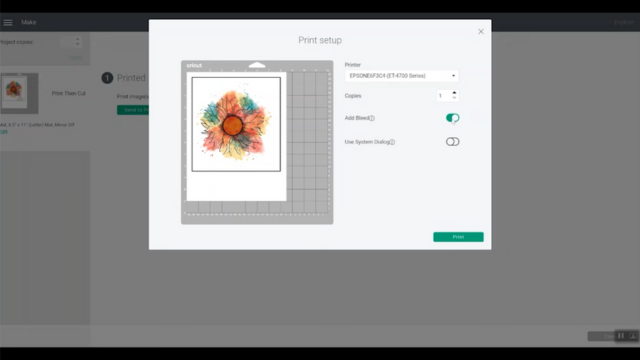
Click print, then select your print preferences from the next window. Set the print quality to high and select the appropriate paper type. Also, always mirror the image for sublimation printing.
Click print to send the image to your sublimation printer. Transfer it to the substrate with the heat press or easy press.
The Cricut design space software is free, and you can use it even if you do not have a Cricut machine. Remember that the image will have a black box around it that you will need to cut before heat pressing it.
How to Print Sublimation Images with Canva
Canva is a free graphic design platform that you can use to print sublimation images. You can use it through your computers or smartphones and tablets. Let’s learn the process of printing sublimation designs with Canva:
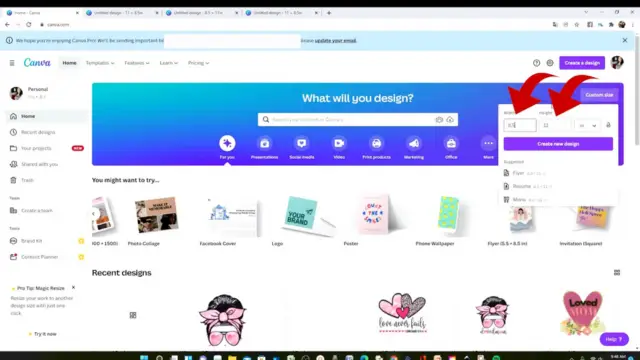
The first thing you need to do is adjust the size of your sublimation print. Go to custom size and add measurements for letter size. Then click on Create New Design.
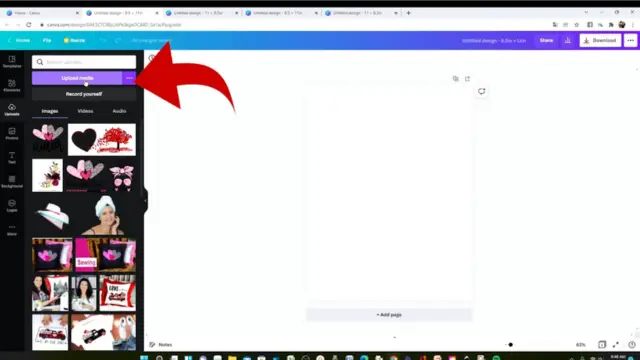
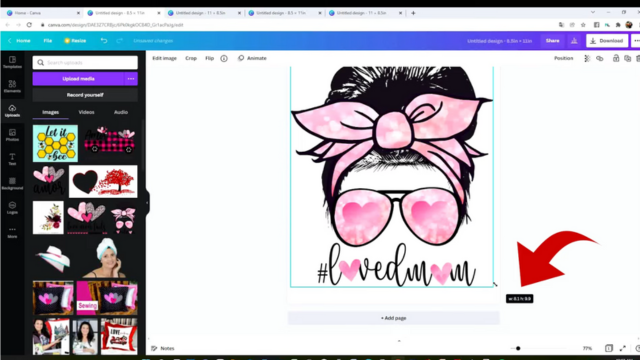
Insert the image into the canvas by clicking on uploads from the left corner of the screen. Go to Upload Media and select the picture you need to print from your device.
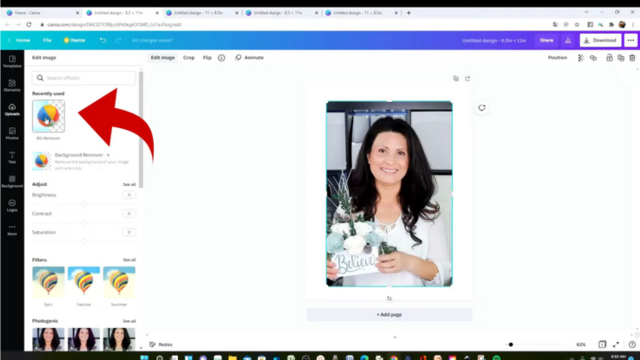
Make sure your picture has a transparent background. You can remove it by clicking on edit image and choosing background remover.
Once you have uploaded the image into the canvas, resize it to your required measurements.
To print your design, go to downloads and select PDF print.
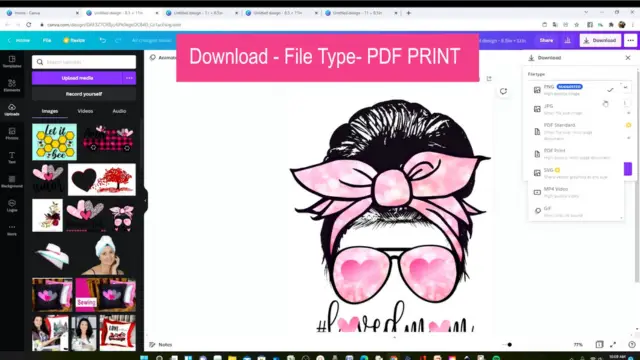
Click on the print icon on the top right corner to access print settings. Click on more print settings and select print using the system dialog.
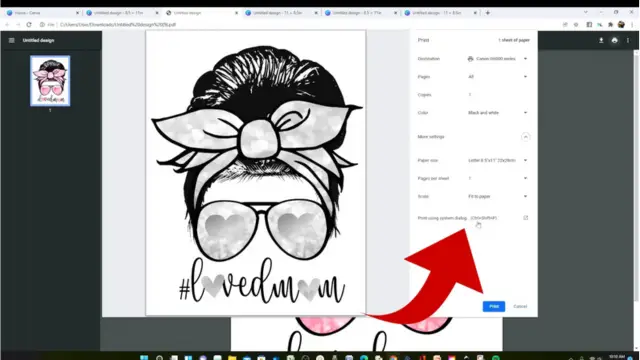
From here, you can select your printer and other print preferences. Mirror the image and check the print preview to ensure everything is in order before you print the final image. Once you are happy with the settings, hit the print button.
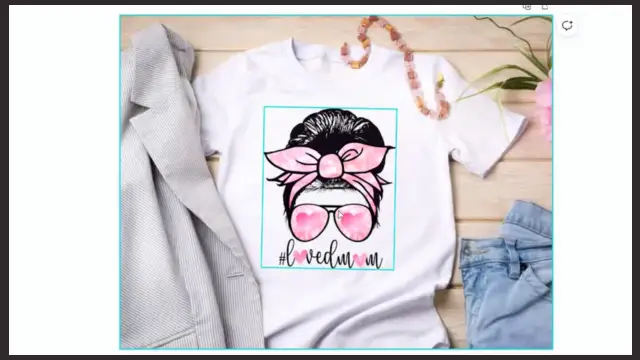
Printing sublimation images is super easy with Canva- no size restrictions and no black box around the image.
How to Print Sublimation Images with Photoshop
Adobe Photoshop is a paid program. It takes a while to get accustomed to using it, but the editing and design features it offers are second to none. Photoshop is the most robust software for creating your own unique designs for your sublimation crafts. Here is how you can print sublimation images with Photoshop.
Go to the Adobe suite and select Create New. Adjust the size of the image and choose your resolution. We recommend using 300 pixels per inch for fine print quality.

You can design your own sublimation image with Photoshop. It allows you to make pictures in any size and correct colors- you will get perfect, vibrant sublimation prints. You can also import a downloaded image from your device. Click on file from the options on the left corner of the screen and select open to access the design.
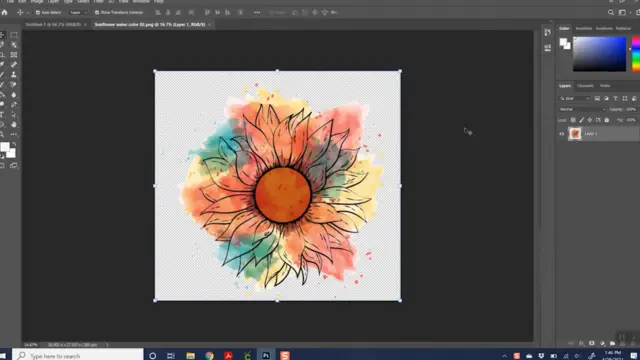
Click right on the layer on the file, then select duplicate layer. It will make a copy of your sublimation image.
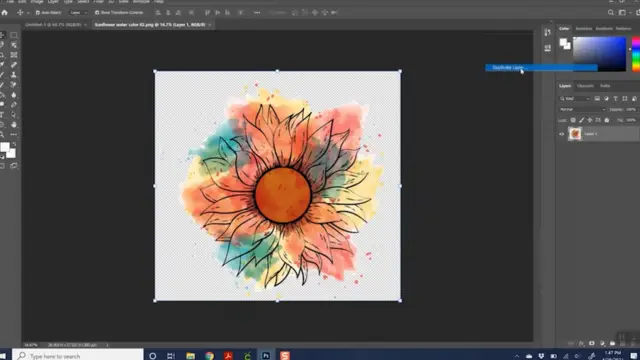
Resize the image according to your sublimation blank. Drag the corners to adjust the size and lock the proportions. Find the option print from the left corner of the screen to send the picture to your printer.
Photoshop is rich in advanced customization and editing features. The biggest benefit of printing sublimation images through Photoshop is that you can use the ICC profiles for color correction. It is a paid program that is also quite expensive, but safe to say it is worth every penny!
Wrap Up
I hope this article helped to clear up all your confusion if you struggle to decide which software is best for printing sublimation images! These are the best tools and resources for printing high-quality, colorful sublimation designs. You will be able to print sublimation pictures smoothly.
However, take care of a few critical considerations. Always mirror the design and select the appropriate paper type, which would be premium or matte for sublimation printing. Keep the print quality to the highest settings, and always check the print preview to verify everything is accurate. Don’t panic if the image looks dull and faded when you print it on sublimation paper; it will gain its vividness and vibrancy once you apply heat and pressure. Go ahead and start sublimating your heart out!

I am Mason, a Team Leader & Writer, a proactive and collaborative individual who works closely with my team to achieve shared goals. I am skilled in managing projects and am able to lead my team to success by setting clear expectations, providing guidance and feedback, and fostering a positive and productive work environment. I have a deep understanding of printers, sticker printers, label makers, sublimation, and craft markets, and use my knowledge to produce high-quality content that is both informative and trusted for the readers.