How to Sublimate a Shirt? An Easy Process for Beginners in 2022

Do you want to learn how to sublimate a shirt with beautiful, long-lasting images? Read the article to learn a quick and easy method of customizing shirts at home. Sublimation printing is a fun and easy crafting technique for creating unique designs on apparel. It is a process of transferring pictures onto fabric and other materials using heat and pressure.
You can make attractive designs on your own shirts or start a small crafting business of customized shirts. Through the sublimation printing method, you can print any design, image, or text on shirts with blended, vibrant colors. The transfer is permanent- no matter how much you wash it, it stays put! So, today we will give you all the essential information on how to sublimate a shirt and a few tips and tricks for the best results. Let’s jump right into it!
What do you need to sublimate a shirt?
We need special equipment, material, and supplies to sublimate a shirt. The setup may seem overwhelming at first. But once you are up and running, the process is easy and straightforward. You will need the following to print your designs on shirts:
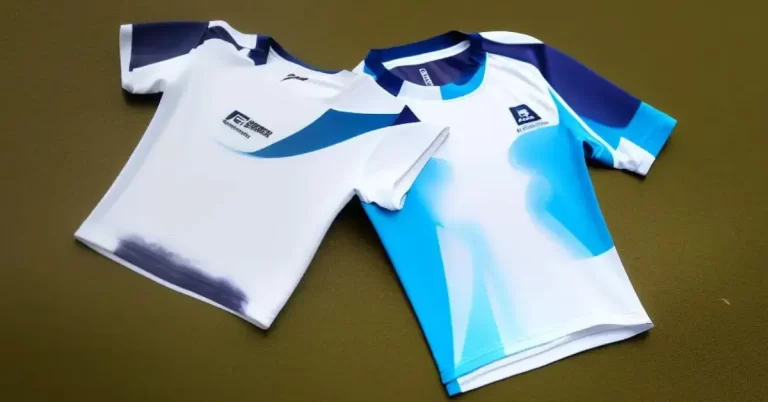
- Since we are sublimating a shirt, we need a white or light-colored shirt with high polyester content. The shirt has to have a minimum of 65% polyester for accurate colors and vibrant print. Sublimation printing delivers the best results on 100% polyester shirts.
- Sublimation paper
- Sublimation printer (you need a dedicated sublimation printer, or you can convert an inkjet printer that supports working with sublimation inks)
- Sublimation ink (use a high-quality ink such as Hipoo for best outcomes)
- A heat press or Cricut Easy Press
- We need parchment or butcher paper to protect the shirt from burning and prevent the dyes from going onto the other side of the shirt.
- Heat-resistant tape
- Lint roller
- Desktop computer or laptop
- Design software like Photoshop, Inkscape, etc., to create and edit your designs. Photoshop is one of the best soft wares with excellent editing and enhancement tools. If you do not want to pay a subscription fee regularly, you can consider Corel Draw. You get an exceptional design package by paying once. It does not require recurring payments. Users with Sawgrass sublimation printer get access to phenomenal design software CreativeStudio.
Learn: How to choose the best sublimation software
Sublimation Printing – The Process
Simply put, the process of sublimation is printing an image on a transfer paper and then transferring that image onto the fabric using heat. It is a quick and uncomplicated process if you have the appropriate equipment. You can create any design on your shirts- it won’t peel or crack. Here’s a step-by-step breakdown of the sublimation process.
Create Your Design
The first step is to design your image using Photoshop, Procreate, or other photo editing software. There are no limitations when it comes to printing a design on a shirt. You can use Design Space or Silhouette Studio if you own a Cricut or Silhouette crafting machine. Designing an image can be a fun experience for people with graphic design skills.
Create an entirely unique design on your own or download one from the internet- the possibilities are boundless. You can also use a digital photo that you have clicked yourself. Make sure you download the file in png format. Remember to resize the image if importing it from a pre-existing design bundle.
One crucial thing to remember is to flip the image before printing, especially if you intend to print text. Also, select the sublimation paper size you are working with, like letter size 8.5 x 11 inches, etc. Make sure you choose high print quality in the settings and deselect the fast printing mode to ensure satisfactory results.
Print Your Design
The next step is to print your design on sublimation paper. Don’t worry if the print looks dull and hazy. Once we apply heat to it, the sublimation inks will activate, and the image on your shirt will be vivid ad bright. Before you print, check the printer manual thoroughly and make sure you load the paper accurately.
Don’t forget to select the appropriate paper type from the printer settings. Once you have printed the design, use scissors or a paper trimmer to trim around the edges of the sublimation transfer design.
Read Also: Sublimation Printing Guide
How to Sublimate a Shirt with a Heat Press?
Now it’s time to sublimate the shirt with your design. You can use a large heat press or Cricut Easy Press to transfer the image onto the shirt. Before starting the sublimation transfer, remove the wrinkles and moisture from the shirt by pressing it with an electric heat press or iron.
Use a lint roller to remove dust particles or fuzz from the shirt.
Put a piece of white butcher paper or cardstock inside the shirt. It will prevent the dyes from bleeding through to the other side of the shirt. Pre-heat your heat press to a temperature between 375 to 400 degrees Fahrenheit. Now place your design image down onto the shirt. Secure the paper with a heat-resistant tape; so it does not move while we apply heat to it.
You will also need a sheet of cardstock or white uncoated butcher paper to place on top of your printed design.
Next, we will apply heat to the design. Usually, a temperature of 400F for 50 seconds would suffice for sublimating a shirt. If you are working with Cricut EasyPress, place it on top of the protective paper and apply medium pressure for 45-60 seconds.
If you are using a clamshell-type heat press, place your shirt in the heat press for 60 seconds under 400F.
Remove the butcher paper and allow the shirt to cool down for a few minutes. Once it is cooled down, remove the tape and lift the transfer paper gently.
The sublimation transfer is complete. You have a gorgeous, vivid print on the shirt.
Read This: Best Heat Press For Sublimation
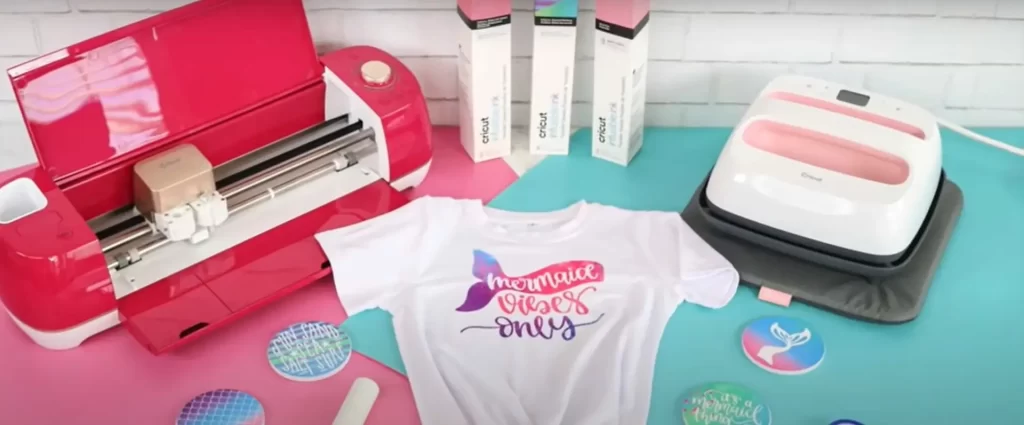
How to Sublimate a Shirt with Cricut?

Cricut offers an alternative way to sublimate a shirt that utilizes infusible inks. Making customized shirts with Cricut infusible ink is easy and beginner-friendly. It is a special transfer paper that allows you to draw your own designs with Cricut’s pens and markers.
You can also cut the designs and patterns with a Cricut crafting machine like Cricut Explore Air2. This method does not require you to use a sublimation printer. The material and equipment you need are similar to when using a heat press. Additionally, you will need a Cricut cutting machine to cut infusible ink sheets.
Sublimating a Shirt with Cricut Infusible Ink Transfer Sheets

You first need to cut your design when working with infusible ink sheets. Take a standard grip cutting mat and apply the infusible ink sheet onto it. Now use your phone to select your desired image or design on Design Space. Make sure you choose the appropriate material type on the software. Select mirror on, and press continue.
Cut the design with the help of your Cricut cutting machine. Remember to select custom on the dial. Insert the grip mat into the machine and let it cut the image or text.
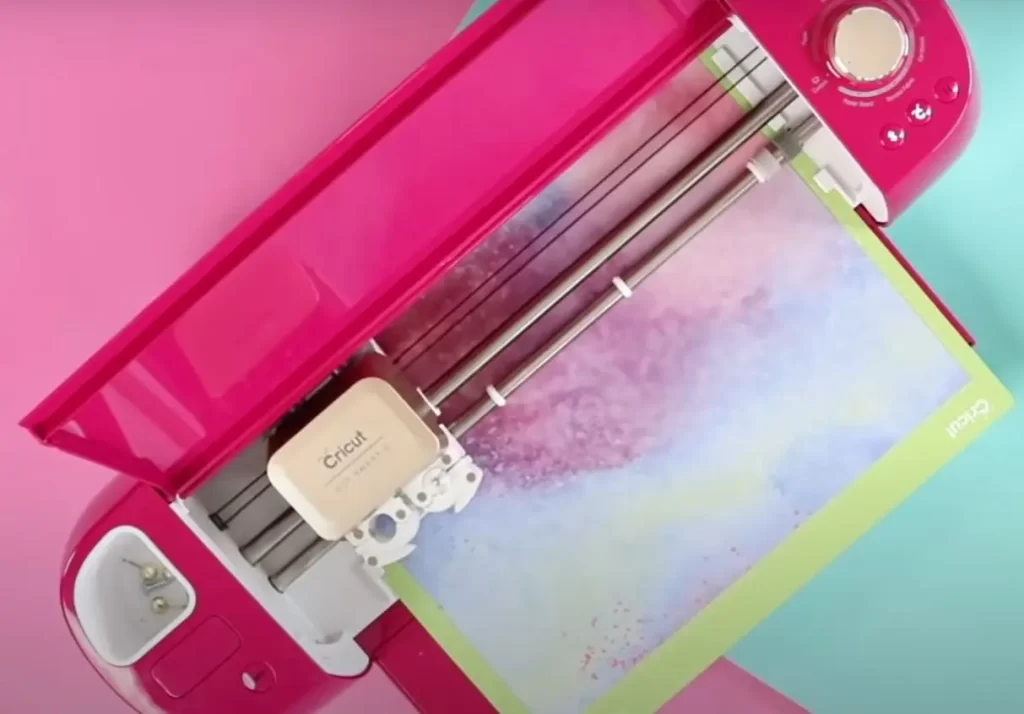
Once the machine has finished cutting the infusible ink, eject the mat. Flip it upside down and gently peel the mat away from the infusible ink.
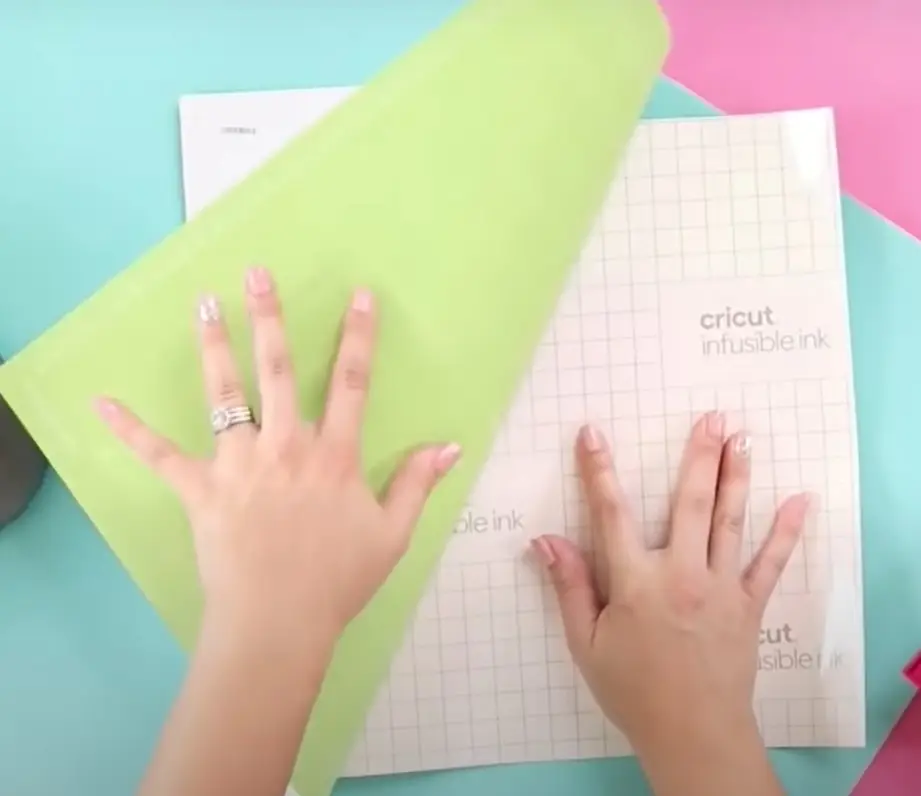
After the machine has done cutting the transfer sheets, grab a scissor and cut around the design. Use tweezers to remove the extra sheet and separate the pattern gently.
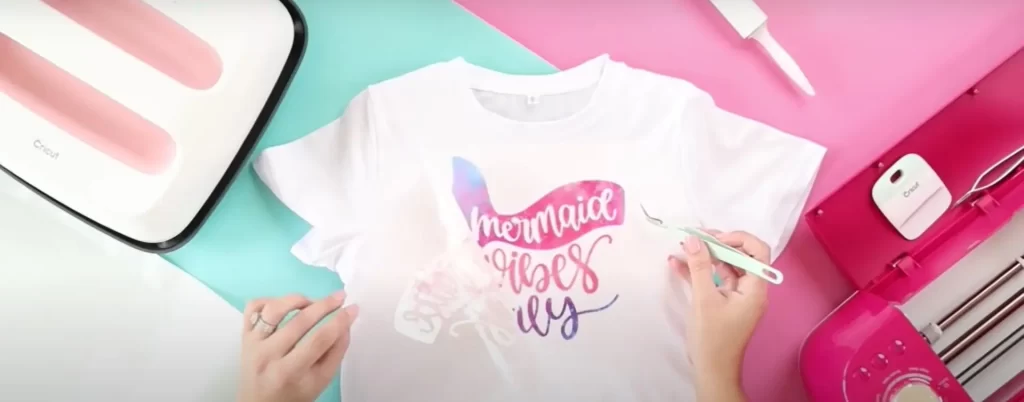
It’s now time to apply your design to the shirt using heat. The process is similar to when you are working with a heat press. Pre-heat the Cricut easy press while you prepare for the transfer. Remove any little fiber that could possibly be there on the shirt with a lint roller.
Slide a butcher paper or cardstock inside the shirt. Now, place the design ink side down on the center of the shirt. You can use heat-resistant tape to secure it. But, the infusible ink sheet is sticky, so you do not have to worry about it moving during the heat transfer.
Cover the design with butcher paper or cardstock and then press it with the heat press. Set your heat press to 40 seconds at a temperature of 385F and apply firm pressure. Release the pressure slowly and raise the heat press straight-up once you have finished. Remove the butcher paper and let the shirt cool down for a couple of minutes. Next, use a pair of tweezers to remove the transfer sheet off the shirt.
You have a sublimated shirt with an eye-catching design that won’t fade, peel, or crack.
Conclusion
Sublimation printing is gaining popularity because of its quality, color accuracy and durability. If you want a high-quality, vibrant image on your shirts, go ahead with a sublimation transfer. With this step-by-step guide, you can sublimate shirts at home conveniently. You can increase the life of your customized shirts by following a few tips and tricks:
- Wash them with cold water
- Do not scrub them with a brush.
- Use detergent powder for washing shirts with sublimation transfers.
- Try to hand wash the shirts. If you need to use a washing machine and a dryer, set the temperature below 350F.
- Sublimated shirts should come out of the wash right away! We do not want them to stay damp for too long.
Following these few instructions will help prolong the lives of your shirts, and the design won’t fade, discolor, or crack.

I am Mason, a Team Leader & Writer, a proactive and collaborative individual who works closely with my team to achieve shared goals. I am skilled in managing projects and am able to lead my team to success by setting clear expectations, providing guidance and feedback, and fostering a positive and productive work environment. I have a deep understanding of printers, sticker printers, label makers, sublimation, and craft markets, and use my knowledge to produce high-quality content that is both informative and trusted for the readers.