How to Make Holographic Stickers at Home 2023? (Follow Right Ways to Get Awesome Holographic Stickers)
Holographic stickers have been gaining popularity rapidly. They look bright and attractive, and you can use them for numerous reasons. You can use them for scrapbooking or as giveaways for parties; you can even use them as a creative and fun way to package your products and promote your business. Get ready to know how to make holographic stickers at home.
What is a Holographic Sticker?
A holographic sticker is just like your regular sticker, except that it flashes all the colors of a rainbow when it catches the light. They are gorgeous as the object or image on the sticker appears to be floating above a colorful background. A holographic sticker has a transparent appearance, deep color, high reflectivity, and a three-dimensional effect.
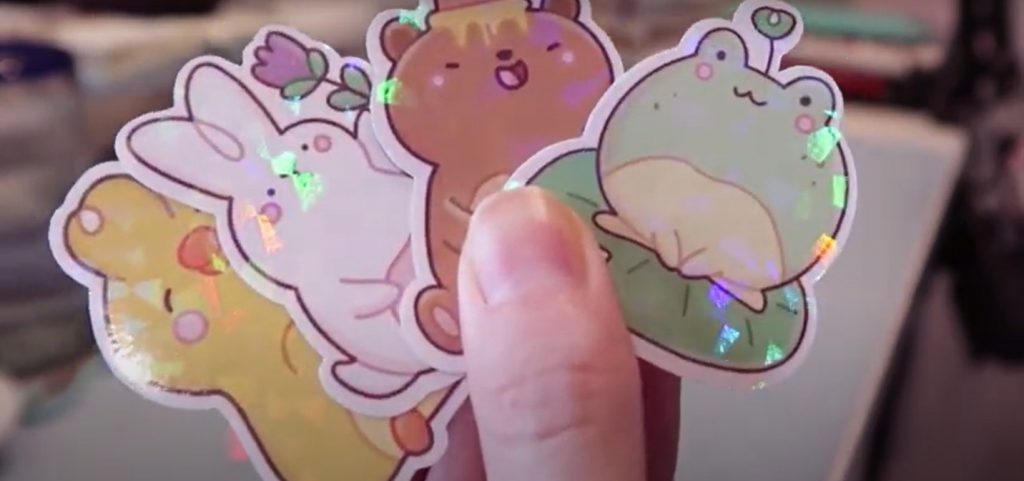
The article will explain how you can easily design and print your own holographic stickers or labels.
If looking for a video. Here it is:
What do You Need to Make Holographic Stickers?
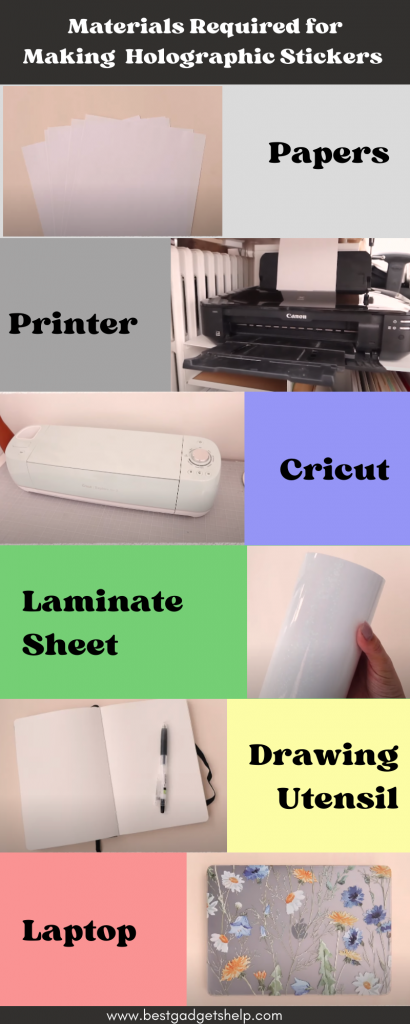
To make eye-catching, professional-looking holographic stickers, you need:
- A waterproof matte sticker paper or a printable, water-proof holographic sticker paper
- An inkjet sticker printer
- Sticker-making machine. You can use a high-quality cutting device by Silhouette or Cricut. You can also cut your stickers with scissors if you do not have professional sticker-cutting equipment.
- Holographic laminate sheets (Foil-on-transfer or self-adhesive)
- A Laminator
- Drawing Utensil. Notebook or Digital (TAB)
- Laptop
Let’s walk you through the process of making holographic stickers.
Design Your Stickers
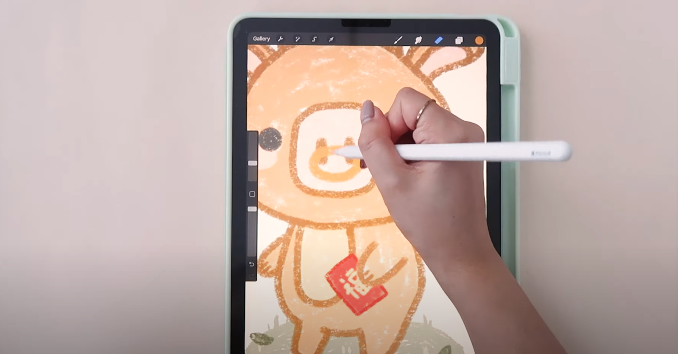
There are plenty of ways to design your stickers. You can use your photos or family portraits, draw or sketch your sticker design, download an image from the internet, or use a template from free design software by Cricut and Silhouette.
You can customize, edit, and format the designs through different apps like the Procreate app, Adobe Illustrator, Photoshop, etc.
Here is: How to Design stickers in Photoshop
Design software by Cricut and Silhouette also has excellent editing and customization features. The possibilities with all these digital tools are endless.
Print Your Stickers
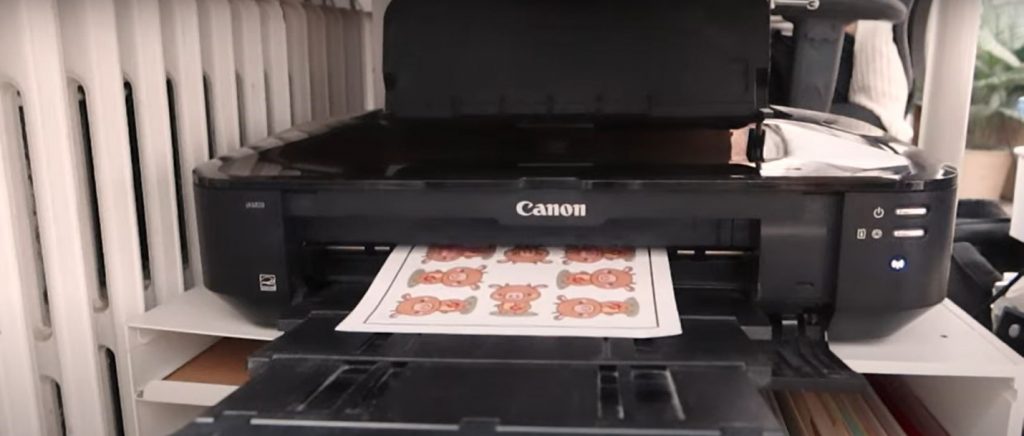
Once your sticker designs are ready, it is time to print them. There are two different ways you can print holographic stickers. The first method is to print them on durable holographic sticker paper. For the second method, you can use regular, water-resistant sticker paper and then add a holographic effect by sticking a holographic laminating sheet on top of them. Use a sticker printer to print your designs.
Self-adhesive holographic laminating sheets are easy to use. All you need to do is peel the backing and stick the sheet over your stickers. For foil-on-transfer sheets, you will need a laminator to adhere the laminator onto the stickers. You will also need plain white printer paper for this method. One sheet would suffice.
Cut And Laminate Your Stickers
How you cut your sticker depends on the material you use for printing them.
METHOD 1
If you are using printable holographic sticker paper, you will need an advanced cutting machine like a Cricut maker to cut your stickers. You can also use a weeder to cut out your designs and images. It is a tricky and complex process but is worth the effort if you want your holographic stickers to be shinier and brighter.
METHOD 2
If you work with foil-on sheets, you can cut out the stickers with a sticker cutting machine or scissors. Turn on the laminator to heat it up when you have finished cutting your stickers. You will need printer paper to put your stickers into the laminator. First, fold the paper in half. Then, place your stickers on the bottom half of the printer paper.
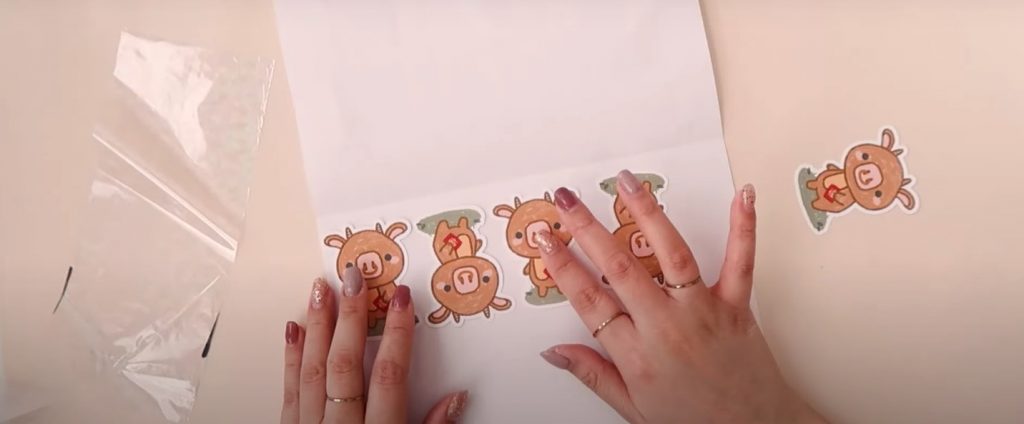
Now take the hollow laminate paper and cut it to the size of your stickers.
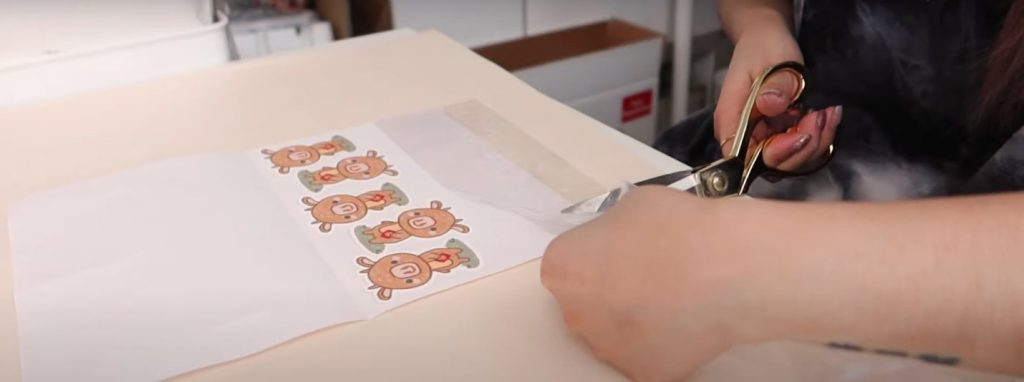
Lay it out on top of your stickers and then fold over the other half of the printer paper. Make sure it appropriately covers all your stickers. Put the printer paper inside the laminator. We recommend running the stickers through the laminator twice for best results.
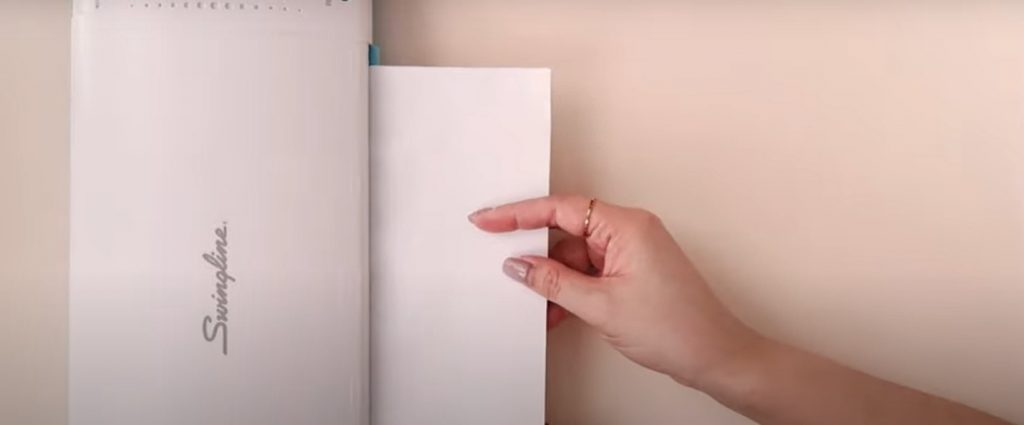
Finally, peel off the backing!
METHOD 3
When working with self-adhesive laminate sheets, you have to cut the stickers after sticking the holographic sheet onto them. Just like the foil-on laminate method, first, measure the adhesive sheet and cut it according to the size of your sticker paper sheet.
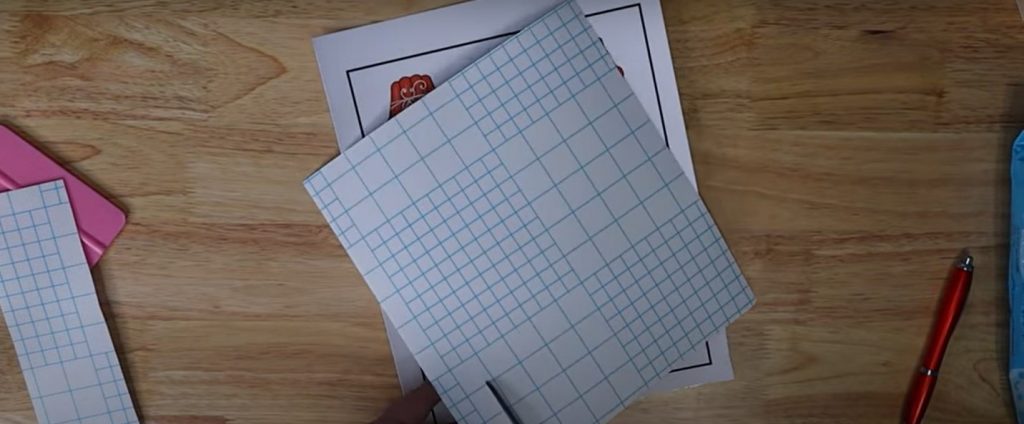
The self-adhesive holographic laminate sheet is transparent paper with an adhesive backing. It is super easy to use and comes in different patterns and designs. Just peel the backing and attach it on top of your stickers. Apply pressure with a squeegee or a ruler to ensure there are no bubbles or creases.
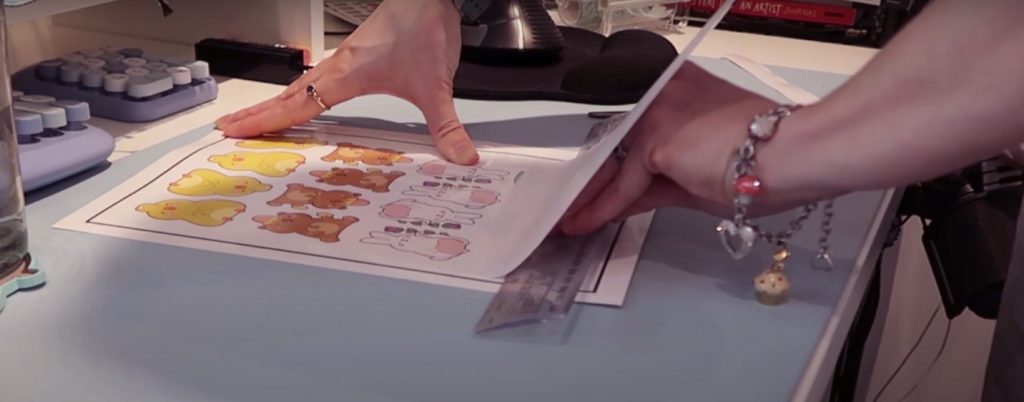
Use the Cricut sticker-making machine to cut the stickers.
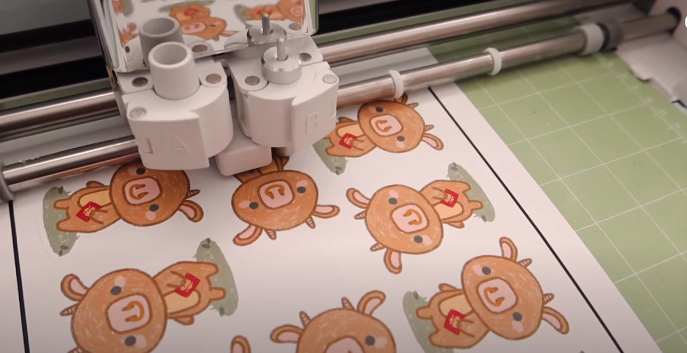
There you have your gorgeous holographic stickers.
Tips For Making Perfect Holographic Stickers
Now that you know different methods of making holographic stickers, here are a few tips for making high-quality stickers that you can use yourself or even sell on Etsy.
Avoid Using A Protective Spray
While using a protective spray can make your stickers water-resistant and long-lasting, it could decrease the hollow effect of the stickers. We suggest users completely omit using it to make their stickers bright and attractive. Instead, you could use water and weather-resistant sticker paper and holographic laminate sheets.
Leave Blank Spaces In Your Design
If you are printing your images on holographic sticker paper, leaving small blank spaces on the design will make it blend well. The holographic effect will shine through the little empty gaps in the design, making it more sparkly and satiny.
Increase The Color Saturation
Adjust the color saturation of your designs to get optimal results. Tweak the colors while editing and formatting to make your holographic stickers pop out. Lighter colors complement the holographic material more, while darker colors block the holographic effect. Using darker colors with gaps in between makes the effect reflect through the stickers vividly. Therefore, if you want a minimal holographic effect in a particular area, increase its color saturation.
Avoid Using Gray Color
Do not apply a gray color build to the area if you want to ace the metallic or chrome look. The gray area will catch a little bit of holographic glamor in this condition, but it will not give off the same brightness and shininess as when it is in its purer form. Leave some areas of your design free of color so that the final piece appears to be a bright silver hologram.
Avoid Gradient Effect
The holographic material will provide an iridescent rainbow effect already. So adding a gradient is just going to scramble the design.
Use Black And White
Almost every color blends well with the holographic material except black and white. The black and white spots of the sticker won’t be holographic, as those inks are far too thick for a holographic material to reflect through. Incorporating these two colors in your designs will make the holographic effect more radiant and vivid.
Final Words
Holographic stickers are beautiful and captivating. They can be an excellent source of displaying your creativity and sharing as gifts with your friends and family. With these easy-to-follow methods, creating holographic stickers will be a breeze. If you are into sticker-making, you must already have most of these supplies at your home or studios.
We hope that the article answers any questions you had in your mind about holographic stickers. With the help of this thorough guide, you will be able to make your own professional-quality holographic stickers at home.

I am Mason, a Team Leader & Writer, a proactive and collaborative individual who works closely with my team to achieve shared goals. I am skilled in managing projects and am able to lead my team to success by setting clear expectations, providing guidance and feedback, and fostering a positive and productive work environment. I have a deep understanding of printers, sticker printers, label makers, sublimation, and craft markets, and use my knowledge to produce high-quality content that is both informative and trusted for the readers.
