What are Vinyl Stickers and How to Make Stickers with Cricut 2023
What are vinyl stickers? Vinyl stickers are a type of adhesive label that is made from vinyl plastic. They are typically printed with a company’s logo or message and can be placed on products, packaging, or windows. Vinyl stickers are durable and weather resistant, making them ideal for both indoor and outdoor use. When applied correctly, vinyl stickers can last for years without fading or peeling. In this blog post, apart from what are vinyl stickers, I will share the different types of vinyl stickers, and how vinyl stickers compare to decals and how to make stickers with Cricut.
What are Vinyl Stickers Used For?
Vinyl stickers are commonly used for promotional purposes, but they can also be used for informational or decorative purposes. For example, you might see vinyl stickers on water bottles that say “Save the turtles” or on the back of a car that says “I heart my dog.”
For decorative vinyl stickers, people usually use them for personalizing laptops, Hydro Flasks, notebooks, and more. Besides personal usage, they are also used to brand company products, as giveaways, or to decorate event spaces or startup offices.
An interesting fact about vinyl stickers is that they were first used as a way to track cattle. In the early 1900s, farmers would brand their cows with a hot iron and then cover the branding with a mixture of tar and wax. This would heal the cow’s wound and also make it easier to identify the cow if it ever got lost.
Eventually, the process of making vinyl stickers became more refined and the stickers themselves became more popular. In the 1960s, vinyl stickers were used as a form of political protest against the Vietnam War. Students would wear them on their clothes or put them on walls and buildings as a way to express their dissatisfaction with the war.
Vinyl stickers have come a long way since then and are now used for a variety of purposes. Whether you’re using them for promotional, informational, or decorative purposes, vinyl stickers are a versatile and affordable way to get your message across.
Types of Vinyl Stickers

There are two main types of vinyl stickers – removable and permanent.
Removable vinyl stickers can be easily removed from surfaces without leaving behind any residue. Permanent vinyl stickers, on the other hand, are more difficult to remove and will usually leave behind a sticky residue.
Permanent vinyl stickers are typically used for indoor applications, while removable vinyl stickers are more commonly used for outdoor applications.
The other popular vinyls are:
Static Cling
these are vinyl stickers that adhere to surfaces without the use of adhesive. They are commonly used for temporary applications, such as window displays.
Reflective
these are vinyl stickers that are made with a reflective material. They are commonly used for safety purposes, such as on the back of a car or on a bicycle.
Holographic
these are vinyl stickers that contain holographic images. They are often used for decorative purposes, such as on phone cases or laptops.
Wrap Vinyl
this is a type of vinyl that is used for vehicle wraps. Vehicle wraps are large vinyl stickers that are applied to the surface of a car. Being large in size, they are usually printed in one or two pieces. They require a certified installer to apply them correctly.
Translucent Rolled Vinyl
this is a type of vinyl that is used for making decals. Decals are small vinyl stickers that are often used for promotional purposes, such as on water bottles or coffee mugs.
Intermediate cut vinyl is a budget-friendly way to get the same look as real translucent vinyl without spending as much money. It still allows light to come through, just not as much as the real thing. This makes it a great option for those who want to save money but still want their signs to look good. intermediate cut vinyl is also a good option for those who want to use two solid colors in their logo or message. By using intermediate-cut vinyl, you can get the same look for less money.
Roll Labels
These are vinyl stickers that come on a roll. They are often used for labeling purposes, such as on food products or beauty products.
They’re typically paper labels, similar to mailing labels but of higher quality. There are many different color options for these including white or yellow background with gold trimming and printable designs; a fluorescent day-glow style that will make your product stand out from others.
High Tac Adhesive
This is a type of vinyl sticker that has a high-tack adhesive. This means that it will stick to surfaces very well. It is often used for outdoor applications, such as on billboards or buses.
Temporary Adhesive
This is a type of vinyl sticker that has a temporary adhesive. It can be removed from surfaces without leaving behind any residue. It is often used for indoor applications, such as on walls or windows.
Comfortable
This is a type of vinyl sticker that is perfect for old historic buildings, concrete, sidewalks, rock walls, cinderblocks, asphalt and more. vinyl comes off quickly and cleanly because of heat and friction.
Vinyl Stickers vs Decals
Vinyl stickers and decals are often used interchangeably, but there is a difference between the two.
Decals are made of a thicker material and are typically printed on one side only. They are also die-cut, which means that they are cut into a specific shape.
Read Also: Printers for Waterslide decals
Vinyl stickers, on the other hand, are made of a thinner material and can be printed on both sides. They are also kiss-cut, which means that they are cut into a specific shape but with rounded corners.
Read in Detail: Stickers vs Labels and Stickers vs Decals
Examples of Vinyl Stickers
Vinyl stickers can be used for a variety of purposes. Some common examples include:
- Promotional products
- Product labels
- Business cards
- Window displays
- Vehicle wraps
As you can see, vinyl stickers are a versatile product that can be used for a variety of purposes. Whether you’re looking to promote your business or label your products, vinyl stickers are a great option.
Examples of Decals
Decals are also versatile products that can be used for a variety of purposes. Some common examples include:
- Vehicle decals
- Bumper stickers
- Wall decals
- Window decals
- Laptop decals
Decorate your PC, phone case, walls, car, and any other smooth surface with vinyl stickers that you and the Cricut have made together.
Vinyl stickers can be applied on items that may need to be washed or come into contact with water, such as cups, glass, or car windows. This makes them a great alternative to regular paper stickers. The section of this post will show you how to make vinyl stickers with Cricut and how to print vinyl stickers.
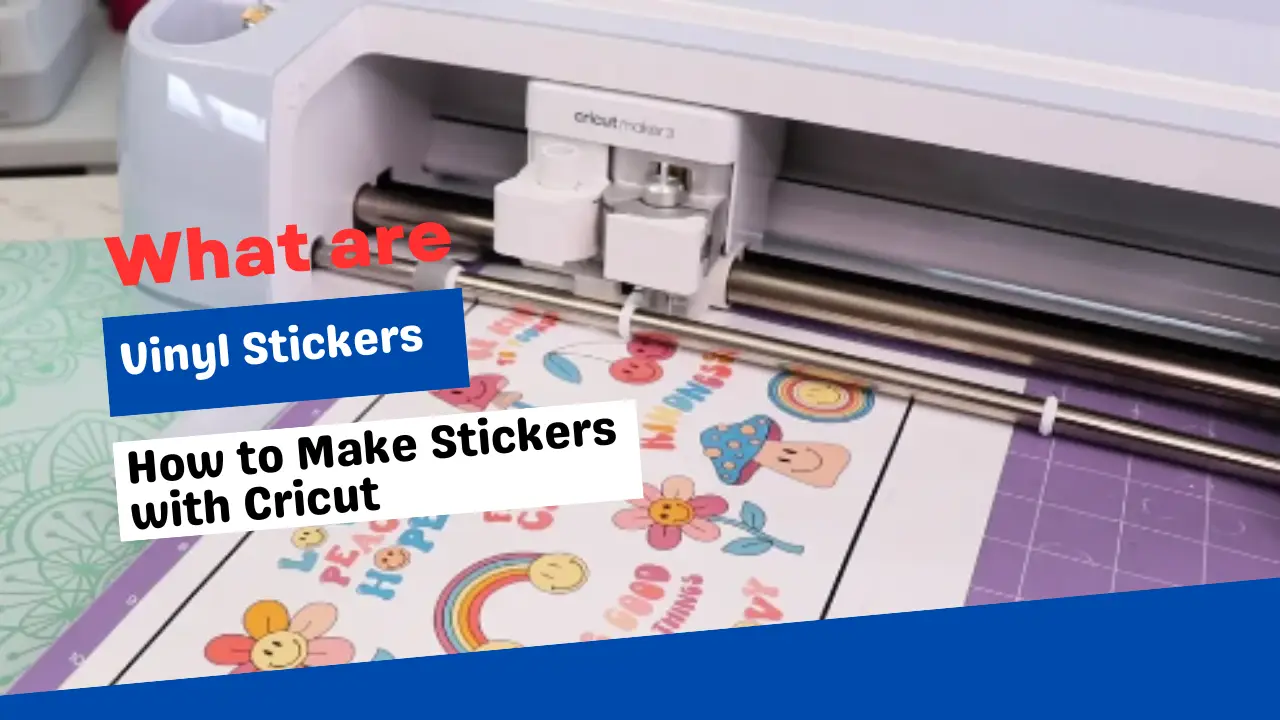
How to Make Stickers with Cricut?
The Cricut can write and cut, so look for images you can draw with it. You can even draw a cut image and then cut it. Simply install the Cricut Design Space app on a laptop, PC, tablet, or mobile device to start making your own stickers. Here is a step-by-step guide to making stickers with a Cricut.
- Step 1
Making a new canvas in the Cricut Design Space app is as simple as launching it.
Print and cut pictures can be found in the image collection, or you can generate your own in Design Space by flattening multiple layers and uploading the result.
To make the most of your material, it’s best to start with a template.
A square from the shapes library can be resized to do this. Remove the square from canvas, select all of the photos on the page and join them together. This will hold them in position while you print and cut your material. Then, arrange your stickers on this template.
- Step 2
Select “Make It” and then follow the instructions. You’ll notice that your design has been enclosed in a black box with white lines. Using this black box, your machine will accurately cut the material.
Once you’ve selected your printer, click “Print.” Open the print screen by clicking on here.
Bleed can be added or removed from your image with this tool. Each sticker will have a border around it as a result of this.
Use System Dialogue” can also be activated. These options can be accessed through this method.
Then, you can adjust any settings to get the best possible print quality.
- Step 3
Set your printer with the material you’ve chosen to print on. Press the print button to check if this needs to be loaded face up or face down.
- Step 4
After printing, the sheet should be placed on a cutting mat, with the top left-hand corner aligned.
- Step 5
Now you tell the machine to make stickers instead of cutting through a material.
Depending on the material you’re printing, select the appropriate setting. Then, insert the mat into the machine and press the start button. Before cutting, the device will read the black lines using its sensors.
Using a torch or moving your machine to a darker area will help if the sensor lines aren’t being picked up by your device for whatever reason.
- Step 6 – Organize your thoughts and feelings about the situation.
Once your Vinyl stickers are cut, the only thing left to do is peel them off and place them wherever you like.
How to Make Vinyl Stickers with Cricut Maker?
If you’ve ever seen a funny slogan or an intricate design and thought, “that would look fantastic on my laptop,” or “I need that on my hood,” then the Cricut maker is the tool for you. With this incredibly versatile piece of equipment, you’ll be able to create stickers for any surface.
1. Open the Design Space in Cricut.
A variety of typefaces, graphics, and materials can be used with Cricut Design Space, the company’s proprietary software. There are some free fonts and pictures in the Cricut Access collection, but you may pay for them if you want more. Users can access the library’s more than 100,000 photos and 400 fonts for roughly $10 a month.
There is a variety of images you can download. A vector software package like Adobe Illustrator (subscription-based) or Vectornator can be used to achieve even more with Design Space. The Maker can possibly cut or draw it if you can make it and convert it to a vector.
The Maker receives data through Bluetooth or USB from your tablet, PC, or phone running Design Space. I prefer to use Design Space on my laptop to have a larger screen.
2. Select a Design You Like
You should have a great idea of what we’re trying to do with a sticker. Using the left taskbar of the screen, choose Images, and then search the Cricut Access library for designs.
3. Assemble All of the Specific Parts
As soon as you’ve chosen your image, click on the bottom right arrows to resize the image to around 6 inches wide. Using the Text tool, you may create a text area. Then, type “word” and select a typeface from the drop-down menus. Your text should be in the middle when you drag it over the ” logo.”
As a rule of thumb, I start my design in the center of the field and then move them up one inch to avoid text menus covering my work.
4. Delicate Tuning
Before you can begin cutting, the software requires a few more instructions. The image and text can be selected using the mouse and dragged to the bottom right corner of the screen, where the “attach” word appears.
To get the text to appear in the image, use the “attach” tool to instruct the software. If you do not click “attach,” the machine will cut out the image’s outline and the word “you want to write” exactly next to it.
5. Make the Vinyl Sticker
Press the green “Make it” button at the upper right of the program is where you’ll find it. You should see the design in the upper left corner of the mat. Take a moment to make sure your Maker is on and running mode. The software will identify its presence and ask you what material you are working with…
I’m choosing a permanent adhesive vinyl because I’ll be applying the sticker to an iPad case. So, choose outdoor vinyl from the drop-down menu if you plan to use it for car stickers. Put your vinyl sheet on the mat with the vinyl side facing up. Stretch out your vinyl square by aligning it with the grid in place on your mat, then pressing it down firmly. Scrape any air bubbles out of the vinyl sheet using your scraper tool.
Make sure to follow the on-screen directions to load the mat into the machine and hit the Cricut logo button to get started. Simply press the Maker’s eject button to get your mat back when you’re finished cutting.
6. Remove the Mat’s Vinyl Covering.
Make sure your vinyl doesn’t warp by peeling the mat off the vinyl instead of the vinyl off your mat. Scissors can be used to cut around the sticker’s perimeter. Keep the rest of the vinyl sheet in your stock for future use!
7. Get rid of all of the free space.
You will find this to be the most therapeutic element of the entire process. Weed out the space around the sticker with your weeding tool.
8. Stay with it
Once you’ve weeded your design, you’ll need to transfer paper to transfer the vinyl from its carrier sheet to the thing to be decorated. When you remove the sticker paper, the transfer paper keeps your cut pattern in place, allowing you to keep the sticker pieces in the right place. Your overall design will require a large enough sheet of transfer paper.
Make sure the transfer paper’s backing is removed before applying the design.
9. Great Everything is Done
Enjoy your sticker after you’ve removed the transfer paper off the vinyl.
How to Print Vinyl Stickers?

Using a few simple tools, you may simply print your vinyl stickers. Print your stickers on vinyl printer paper once you’ve designed them on the computer using image-editing software. Protect your stickers from the rain and the sun’s harmful rays by laminating them. All you have to do is peel off the paper from them to use your stickers!
Printing Out Your Vinyl Stickers
- So, you should create a new document with the image editing software.
- In the new document, copy and paste the design you made.
- To see how your stickers will print, click the print preview option.
- Use vinyl printer paper to load your printer.
- Make a copy of your design by printing it onto the vinyl sheet.
- Tip: Choose a high-quality print setting for the finest stickers on your printer.
Sticker Lamination and Cutting
- Put an over-laminate sheet over your stickers.
- Take your time peeling back all of the over-laminate backings.
- Using a pair of scissors, cut off the laminated stickers from the vinyl sheet.
- Use your stickers by peeling down their protective layer of paper backing first.
Vinyl stickers will stick on practically any hard, smooth surface, and you may use them indoors or outdoors.

I am Mason, a Team Leader & Writer, a proactive and collaborative individual who works closely with my team to achieve shared goals. I am skilled in managing projects and am able to lead my team to success by setting clear expectations, providing guidance and feedback, and fostering a positive and productive work environment. I have a deep understanding of printers, sticker printers, label makers, sublimation, and craft markets, and use my knowledge to produce high-quality content that is both informative and trusted for the readers.