4 Easy Methods You Must Know How to Make DIY Stickers At Home?
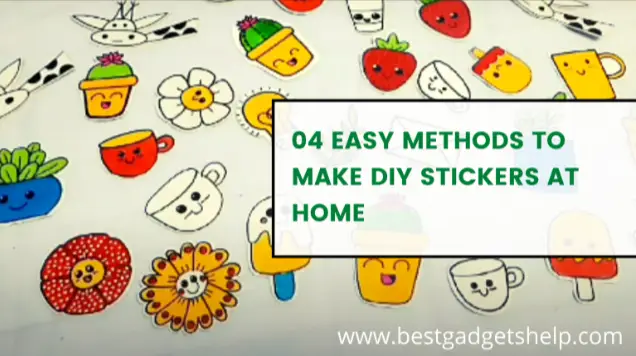
How about our absolute favorite creative activity?? DIY Stickers!! Kids love all kinds of stickers. You can use easy-to-find household supplies to create stickers right away. This process is simple and uses items found around the house, so you can start making stickers right away! Get Ready to know all about How to make DIY Stickers.
DIY Stickers are easy to make using materials you probably have around the house, or you can use sticker paper, available at many office supplies and craft stores, to make professional-looking DIY stickers. Here are four different steps to help you create professional-looking stickers.

METHOD #1:How To Make DIY Stickers?
For the first method of creating DIY stickers, you will need
- sticker paper.
- self-adhesive laminating sheet
- and an optional Cricut machine.
Let’s get started:
Start by creating designs firstly on an app called procreate pocket. It is a procreate app that you can download with an iPad but, you can also use this version on your phone. It is more practical to use.
After you have Your Design of DIY Sticker:
After creating your sticker designs, save the images as png. Then, upload them to the Cricut design space. Save them as complex images, then select the print and cut option. Click on the green button to save. Repeat this process for all of your sticker pictures. Now, select them and insert them into your canvas. In order to get the most out of your sticker sheets, click on the shapes and select square. Adjust the size to 7 inches wide by 9 inches long.
Size Adjustments are Crucial in DIY Stickers Creation:
Now place your images inside the rectangle and adjust the size to your liking. Once you get them to fit in your desired size, select them and click on the flat button at the bottom. Delete the shape edge created earlier, and your images should stay attached. Now you can click on the green button to make your sticker. Insert your sticker paper into your printer and select the send to the printer button. Once you have printed it, the sheet should have a black border around the images.
Next, take the self-adhesive laminating sheets to make the stickers look shiny. After that, measure your laminate onto the stickers and cut it to the correct size. Peel off the top portion and stick it to the top of the sticker sheet to make sure you are only covering the inside of the black lines. Use Cricut to get rid of the bubbles. Peel the laminate back and use the tool to smooth it down.
Continue doing this until you cover all of your stickers. Now you can put it on your Cricut mat and smooth it down. Make sure to change the setting of the machine to card stock and add extra pressure. Load your mat into the cutting machine and press start to cut your sticker. You can also cut these stickers by hand if you like and leave white borders around. Once your Cricut machine has done cutting, unload your mat and peel off your stickers.

METHOD #2:
For this method, we will make stickers without a Cricut machine. You will need
- parchment or wax paper
- clear packaging tape
- and regular printing paper
After that, add all of your DIY stickers to google doc and adjust the sizing. Print the images on regular printing paper when you finish adjusting the size. Cut out your sticker designs. Make sure to leave the white order borders around. Now take a sheet of parchment paper and lay it flat on your table.
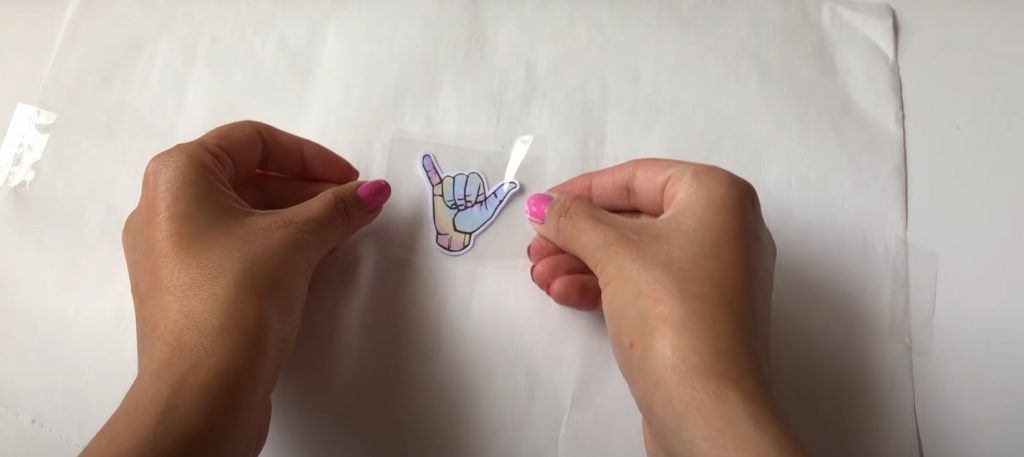
Then take a strip of clear packaging tape and lay it over the parchment paper. Continue adding more tape until you cover the entire piece of parchment paper. Place your images on top of it and add another layer of tape. Trim out the excess and cut around the images leaving the border of tape around the edges so that they will stick. Peel off the wax paper, and they should be able to stick anywhere you would like.
METHOD # 3:
For this method, you don’t need a Cricut machine or printer. All you need is
- printing paper
- parchment paper
- clear packaging tape
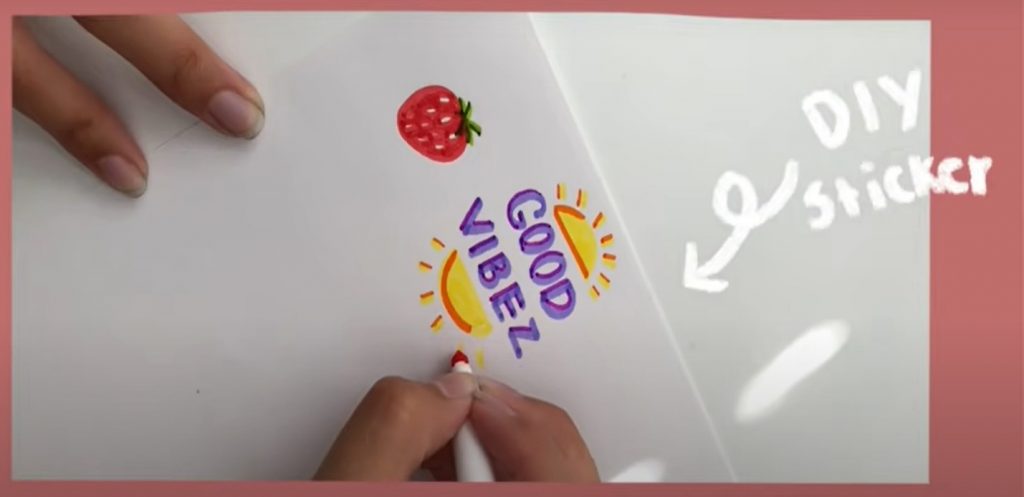
- markers
This method is similar to the last one. But, instead of printing the images, you can sketch them yourself with markers or drawing pencils. Once you have finished sketching, you can cut them out. Make sure you leave the white border. Take a piece of parchment paper and cover it with clear tape as we did earlier. Lastly, cut them out. Leave a frontier of adhesive tape around them. And when you peel them off, they will look bright and shiny.
METHOD # 04:How To Make DIY Stickers?
You can make your own homemade glue for making stickers this way. This glue is safe for kids as it is free of chemicals. To make home-made gelatin glue, you need:
- Plain gelatin
- Boiling water
- Sugar or corn syrup
- Peppermint extract or vanilla (optional)
First, you need to design your stickers like all other methods. You can use drawing utensils of different shapes and make attractive stickers using markers, crayons, pastels, etc. Use thin paper like paper from a notepad for best results. You can also use your portraits, cut images that you like in magazines, or download captivating designs found on the internet.
Cut your stickers with a scrapbook scissor. You can also use regular scissors if you don’t have one. Now make the glue by mixing all the ingredients mentioned above. Store it in a jar, bottle, or container and keep it in the refrigerator overnight. You will have to place the bottle containing your glue in a bowl of hot water when you need to apply it as it turns into a gel after refrigerating.
Now place your stickers upside down on an aluminum foil. Apply the glue mixture in them with a paintbrush. Let the stickers dry completely before using them. Store your stickers in a plastic bag or box until you are ready to use them.
Read Also: How to Make Custom Stickers at Home
CONCLUSION
Follow these convenient, easy-to-follow methods, and making your own stickers will be a smooth, hassle-free process. These methods require supplies and materials that are easily available at home. If you do not have them lying around at home, you can get them from a retail store near you at reasonable prices. You don’t need expensive stuff to make your DIY stickers from scratch. Follow our easy and quick methods and let your creativity shine through your DIY stickers.

I am Mason, a Team Leader & Writer, a proactive and collaborative individual who works closely with my team to achieve shared goals. I am skilled in managing projects and am able to lead my team to success by setting clear expectations, providing guidance and feedback, and fostering a positive and productive work environment. I have a deep understanding of printers, sticker printers, label makers, sublimation, and craft markets, and use my knowledge to produce high-quality content that is both informative and trusted for the readers.